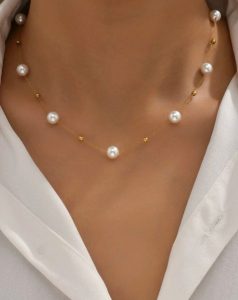
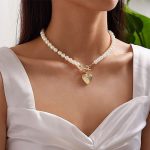
Adjustable necklaces are a fantastic jewelry option! They offer versatility, allowing you to change the length to suit your outfit or mood. They’re also a great project for crafters of all experience levels. This article will guide you through different methods for creating your own adjustable necklace, giving you the freedom to personalize your style.
Choosing Your Materials: Thread, Cord, or Chain?
The foundation of your necklace will be the cord or chain that holds your design elements. Consider these factors when making your choice:
Durability:
Consider how you’ll wear your necklace. If it will see a lot of wear and tear, choose a strong material like nylon cord or metal chain.
Adjustability Mechanism:
Think about how you want your necklace to adjust. Will it use a sliding knot, clasp, or beads? Choose a cord or chain that works well with your chosen method.
Aesthetics:
The material should complement your overall design. Bright thread or colorful cords can add a playful touch, while metal chains offer a more sophisticated look.
Here are some popular options to get you started:
-
Hemp Cord: Strong, natural-looking, and comes in various thicknesses.
-
Silk Cord: Soft, smooth, and available in a wide range of colors.
-
Faux Suede Cord: Soft, durable, and comes in many colors and textures.
-
Beading Wire: Thin and flexible, perfect for intricate designs with small beads.
-
Metal Chain: Strong and comes in various finishes like gold, silver, or antique bronze.
Once you’ve chosen your material, you’ll need additional supplies depending on your design and adjustment method.
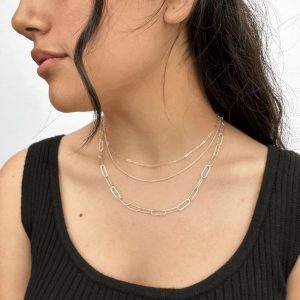
Essential Tools for Necklace Making
-
Scissors: Sharp scissors will ensure clean cuts for your cord or thread.
-
Jewelry Pliers: Optional, but helpful for opening and closing jump rings or crimps if using a clasp closure.
-
Tape: Useful for securing loose ends or holding elements in place while assembling.
These are just the basics. Depending on your design, you might also need beads, clasps, crimp tubes, or decorative findings.
Classic Adjustable Necklace with Sliding Knot
This method is perfect for beginners and creates a simple, elegant necklace.
-
Materials: Cord or thread (around 36 inches long), bead (optional, with a hole large enough for your cord to pass through), scissors.
-
Instructions:
- Fold the cord in half to create a loop.
- If using a bead, slide it down the cord until it sits at the fold.
- Pinch the loop at the top and make a knot with the two loose ends of the cord, leaving a tail of about an inch.
- Pull the knot tight, then carefully slide the knot down towards the bead (if used) until it sits snug against the loop.
- To adjust the length, simply pull on one of the loose ends of the cord. The knot will slide up or down the cord, adjusting the loop size and thus the necklace length.
This is a great base design. You can customize it further by adding more beads or using different colored cords.
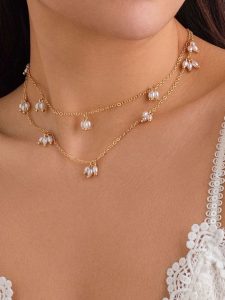
Adjustable Necklace with Clasp Closure
For a more polished look, consider using a clasp closure. Here’s a basic design using a crimp clasp:
-
Materials: Cord or chain (around 36 inches long), crimp clasp with jumprings, two crimp tubes (size appropriate for your cord/chain), beads (optional), scissors, jewelry pliers (optional).
-
Instructions:
- If using beads, thread them onto the cord or chain.
- Attach a crimp tube to one end of the cord/chain using jewelry pliers (if using). Crimp the tube to secure it.
- Attach a jumpring to the crimped end.
- Attach the clasp to the other jumpring.
- Slide the loose end of the cord/chain through the other crimp tube.
- Crimp the tube to secure it, leaving a small tail.
- Adjust the length by pulling on the loose tail of the cord/chain. The clasp will grip at the desired length.
There are many clasp styles available, so explore different options to find one that suits your project.
Endless Design Possibilities with Adjustable Necklaces
The beauty of adjustable necklaces lies in their versatility. Here are some ideas to inspire your creativity:
-
Add colorful beads: Incorporate various sized and colored beads to create a playful or patterned necklace.
-
Use different knots: Experiment with decorative knots like the square knot or the macrame knot to add visual interest.
-
Mix materials: Combine different cords, ribbons, or even yarn to create a unique texture and look.
-
Get creative with clasps: Instead of a standard clasp, consider using a decorative button or a large bead with a hole big enough for the cord to loop through.
-
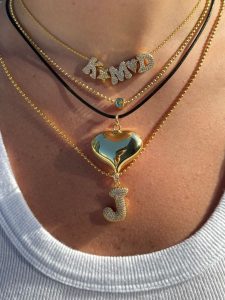
Make it personal: Add a charm or pendant with initials, a birthstone, or a symbol that holds special meaning to you.
Adjustable necklaces are a fantastic way to express your personal style and accessorize your outfits. With a little creativity and these basic techniques, you can create beautiful and personalized pieces of jewelry!
Top Tips for Making Your Adjustable Necklace
-
Measure twice, cut once! It’s always better to have a longer cord or chain than you need and cut it to size later.
-
Use high-quality materials. Stronger materials will ensure your necklace lasts longer.
-
Don’t be afraid to experiment! The beauty of DIY projects is the freedom to personalize them. Try different colors, knots, and embellishments to find your perfect design.
-
Most importantly, have fun! Making jewelry should be an enjoyable experience.
With these tips and tricks, you’re well on your way to creating stunning and adjustable necklaces that reflect your unique style.
Safety Tips for Working with Jewelry Materials
Always prioritize safety when working with jewelry materials. Here are some tips to keep in mind:
-
Use appropriate tools: Sharp scissors and jewelry pliers (if using) will help prevent accidents.
-
Be mindful of sharp edges: Be careful when handling metal chains or findings that may have sharp edges.
-
Store materials safely: Keep small beads and findings in a container with a lid to prevent them from becoming lost or swallowed.
-
Adult supervision: If working with young crafters, adult supervision is recommended, especially when using sharp tools or small materials.
By following these safety tips, you can ensure a fun and enjoyable experience while creating your adjustable necklaces.
Conclusion
Making your own adjustable necklaces is a rewarding and creative hobby. With a few basic techniques and some imagination, you can create beautiful and personalized pieces of jewelry. So grab your materials, unleash your creativity, and get started on crafting your own unique necklace!

