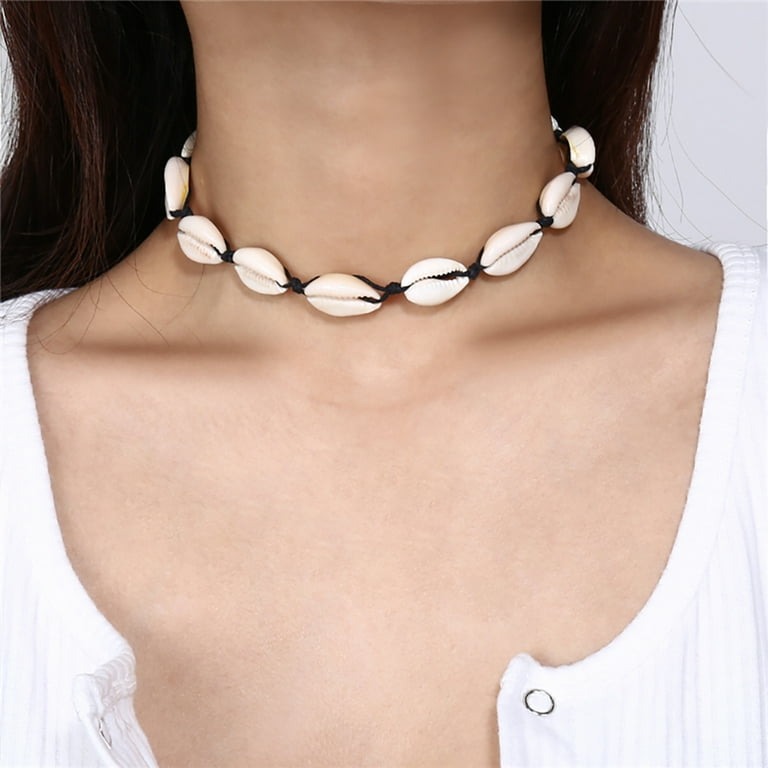
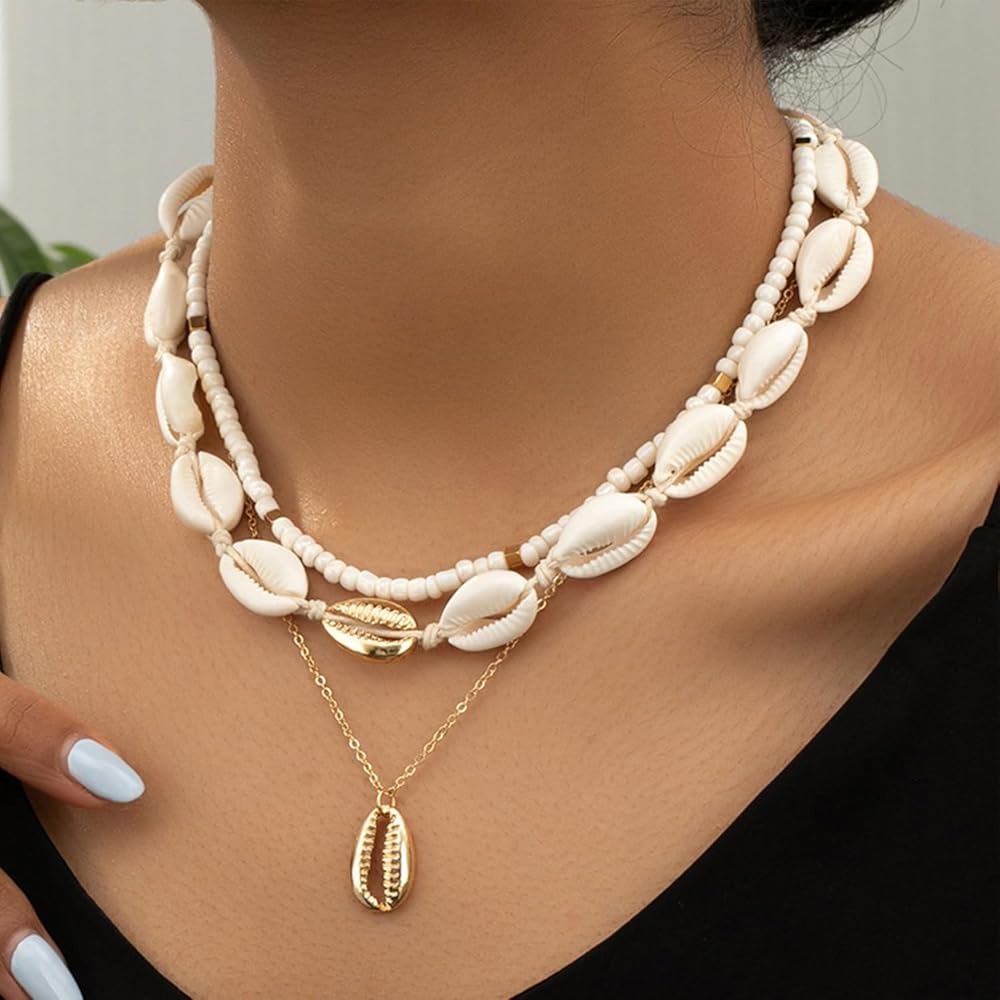
Creating your own seashell necklace is not just a fun and creative endeavor, but it also allows you to carry a piece of the ocean with you wherever you go. Whether you’re looking to make a unique gift or simply want to express your love for the sea, learning how to make a seashell necklace can be a fulfilling activity. In this article, we’ll break down the process into detailed steps, so you can craft your own stunning piece right at home.
Essential Materials Needed
To embark on your seashell necklace crafting journey, you’ll need a collection of materials. Begin with the right kind of clay for molding. Air dry clay is a great choice for those just starting out. It’s user-friendly and doesn’t require an oven to set. For those feeling a bit more adventurous, polymer clay is a robust alternative. It does require baking, but the final product is more durable.
Types of Clay and Alternatives
When selecting clay, consider air dry clay or polymer clay. Avoid terra cotta clay, as its color and texture may not match the aesthetic of a seashell necklace. Polymer clay offers more durability but requires baking. Air dry clay is perfect for simple, fun projects with kids or quick crafts.
Choosing the Right Paint and Glitters
Finding the perfect paint to color your clay is next. Water-based paints mix well and offer vibrant colors. Mix in a bit of water for smoother application. Glass glitter is an optional addition. It embeds nicely into the clay, adding sparkle and texture to your creation.
Selecting Seashells and String Materials
Last, pick your seashells thoughtfully. Small to medium-sized shells work best. Also, consider the string for your necklace. Cotton twine gives a casual, beachy vibe, while a thin chain can elevate the look for more formal wear. Now, with all materials at hand, you’re ready to create your unique seashell necklace.
Step-by-Step Crafting Process

Preparing the Clay
Begin by softening the air dry clay with your hands until it’s pliable. Flatten the clay to create a base for your seashell. If using polymer clay, condition it until smooth before shaping.
Incorporating Colors and Textures
Mix water-based paint with the clay to achieve the desired color. Add color gradually to prevent the clay from becoming too dry. Optionally, press glass glitter or pastel shavings into the clay for added texture and sparkle.
Attaching the Seashell
Center your chosen seashell on the flattened clay. Gently press the shell into the clay and mold the clay around it to secure. Ensure the clay is thick enough to prevent breakage but not too bulky.
Final Touches: Stringing and Sealing
Poke a hole at the top of the clay with a skewer for the string. Apply a sealer like Sculpey Glaze or Mod Podge to protect and enhance the clay’s color. Thread through cotton twine or a thin chain and add beads if desired, then knot to secure the necklace.
Creative Variations and Ideas
DIY seashell necklaces provide a canvas for boundless creativity. With a little imagination, you can craft stunning personalized jewelry. Here are some ideas.
Adding Beads and Chains for Aesthetic Enhancement
Adding beads and chains can elevate your seashell necklace from simple to chic. Incorporate wooden, glass, or metallic beads to contrast the organic feel of the seashells. For a robust feel, intersperse thin chains. This variation is ideal for turning your homemade necklaces into potential gifts or items for sale.
Color Schemes and Themes for Different Occasions
Consider your event or recipient when choosing colors. Soft pastel hues work well for spring events, while deep blues and greens reflect a nautical theme perfect for beach outings. Holiday-themed colors can turn a simple necklace into a festive accessory. Get creative with color combinations to match specific occasions or seasons.
Designing for Different Age Groups
When crafting for different age groups, take note of preferences and functionality. For young children, use bright colors and larger, chunky beads for safety and sensory stimulation. Teens might prefer a more minimalist style with subtle earth tones and smaller, delicate shells. For adults, consider sophisticated designs with an emphasis on natural color palettes and intricate details.
Tools and Workspace Preparation

Preparing your crafting space is crucial for an efficient DIY project.
Essential Crafting Tools
To begin making your seashell necklace, you need some basic tools. These include:
- A skewer or paintbrush back for making holes.
- Sculpey Glaze or Mod Podge for sealing your piece.
- Paintbrushes for applying paint and glaze.
- Protective cover for your workspace, such as newspaper or a plastic sheet.
Simple tools make the process smooth and prevent damage to your workspace.
Setting Up an Effective Crafting Space
Select a well-lit area to work in. Good lighting is essential for delicate crafting. Ensure the space is free from disturbances. This helps in maintaining focus and precision. Keep all materials within easy reach to streamline the crafting process. Organizing tools and materials before starting minimizes clutter and enhances creativity. By preparing effectively, you make the crafting experience enjoyable and hassle-free.
Tips for a Durable Seashell Necklace
Creating a seashell necklace can be a fulfilling project. But to ensure that your necklace stands the test of time, it is vital to pay attention to its durability. Follow these tips and you’ll craft a wearable piece that endures.
Ensuring Thickness and Durability
A crucial aspect of durability is the thickness of your clay base. Here’s how to make sure it’s just right:
- Aim for at least a quarter inch of clay thickness, as thinner designs are prone to breaking.
- Test the strength of your clay by gently pressing on it; it should feel solid and not give way easily.
- If you’re using air dry clay, be extra mindful since it’s more fragile than baked polymer clay.
Remember, the thicker the clay, the less likely your seashell necklace will crack or chip.
Best Practices for Sealing and Preservation
Once you’ve crafted your necklace, proper sealing is essential to maintain its color and integrity:
- Apply a coat of Sculpey Glaze or Mod Podge Super Gloss with a paintbrush for a shiny finish.
- Wait for the first coat to dry completely before adding a second layer; patience ensures better protection.
- Sealing is not only about aesthetics; it’s a barrier that protects against moisture and wear.
Follow these sealing steps to enhance your necklace’s longevity. The right preservation techniques mean your hand-crafted jewelry will stay beautiful longer.
Advantages of DIY Jewelry Crafting

Crafting your own jewelry, like a seashell necklace, comes with unique benefits. It allows for expression and can be gentle on your wallet. Let’s explore these advantages.
Personalization and Creativity
When you make a seashell necklace, you control the design. Choose your colors, shells, and add-ons. This makes each piece unique to you or your gift recipient. It’s a chance to let creativity flow and experiment with different textures and materials. By selecting each element, your necklace tells a story. Plus, you enjoy the satisfaction that comes from wearing or giving something handmade.
Cost-Effectiveness and Sustainability
DIY jewelry is often more affordable than store-bought options. You can use found materials like beach shells or inexpensive craft supplies. This not only saves money but also promotes sustainability. By repurposing materials or choosing eco-friendly options, you lessen the impact on the environment. And, since you’re crafting by hand, you reduce the need for mass-produced items. In the long run, this can lead to a smaller carbon footprint and a more sustainable way of accessorizing.
Sharing Your Craft
Once you’ve mastered how to make a seashell necklace, sharing your creations can amplify your joy. Whether for personal gifts or as a hobby business, there are numerous avenues to explore.
Ideas for Gifting and Selling
Seashell necklaces make thoughtful gifts. Consider creating custom pieces for friends and family. Such personalized gifts often hold more meaning. Additionally, these necklaces can serve as excellent items to sell at craft fairs or online platforms. Ensure each piece is unique to attract potential buyers. Package them attractively and consider adding a personal note about the craft process.
Sharing your craft goes beyond physical transactions. Enlist in online forums and social media groups focused on crafting. Here, you can showcase your seashell necklaces, exchange ideas, and even receive feedback. Creating a dedicated Instagram or Pinterest account for your crafts can help you reach a wider audience. Leverage hashtags such as #DIYJewelry or #SeashellCrafts to increase visibility. Engage your followers by sharing behind-the-scenes content or organizing online workshops. These strategies can grow your community and enhance your crafting journey.

