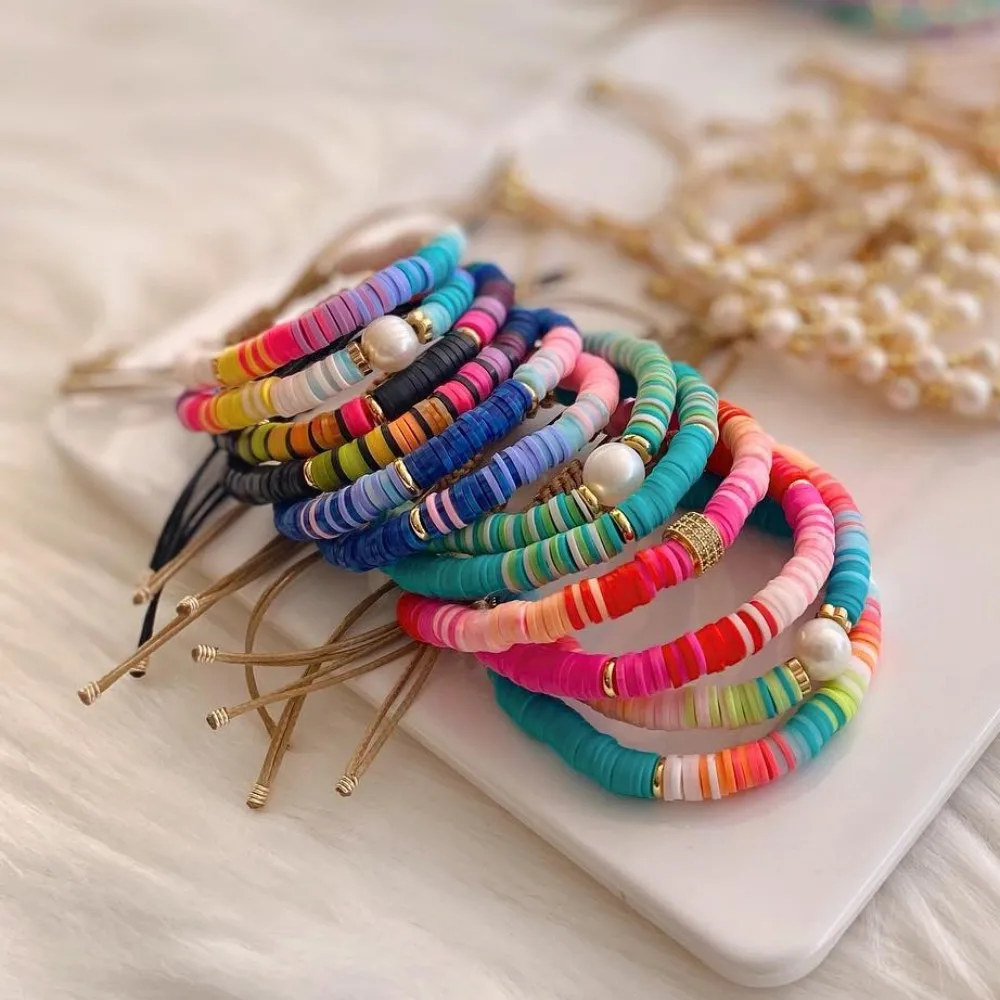
Creating your own jewelry can be both fun and rewarding. Among the various handmade accessories, clay bead bracelets have gained immense popularity due to their versatility and unique designs. If you’re eager to learn how to make clay bead bracelets, this guide will walk you through each step, ensuring you craft beautiful and personalized pieces with ease.
Materials Needed
Before diving into the creative process, it’s essential to gather all necessary materials. Having everything at hand will make the crafting experience smoother and more enjoyable.
Polymer Clay
Polymer clay is the primary material for making clay beads. It’s versatile, available in numerous colors, and easy to work with. Some popular brands include Sculpey, Fimo, and Premo. Choose a brand that fits your budget and preference.
Tools and Supplies
To create stunning clay bead bracelets, you will need a few basic tools and supplies:
- Rolling pin or clay roller: For flattening the clay.
- Bead cutters or a knife: To shape your beads uniformly.
- Oven: To bake the clay beads, setting their shape and color.
- Parchment paper or a baking sheet: To prevent the beads from sticking.
- Fine-grit sandpaper: For smoothing baked beads.
- Jewelry findings: Including clasps, jump rings, and cords or strings.
- Glaze or varnish (optional): To add a glossy finish to your beads.
Preparing Your Workspace
A well-prepared workspace can significantly enhance your crafting experience. Here’s how to set it up effectively.
Organizing Your Tools
Start by organizing your tools and materials. Ensure everything is within reach to minimize interruptions. Use containers or trays to keep small items like beads and clasps sorted.
Safety Tips
Working with polymer clay requires some safety precautions:
- Ventilation: Always work in a well-ventilated area, especially when baking the clay.
- Protective Gear: Consider wearing gloves to prevent skin irritation from certain clay brands.
- Proper Baking: Follow the manufacturer’s instructions for baking temperatures and times to avoid releasing harmful fumes.
 Creating Clay Beads
Making clay beads is the heart of crafting clay bead bracelets. Let’s explore the process step-by-step.
Conditioning the Clay
Before shaping the clay, it’s crucial to condition it properly. Conditioning involves kneading the clay until it becomes soft and pliable. This step is vital as it ensures the clay is free from air bubbles and evenly mixed, leading to smoother beads.
- Knead Thoroughly: Spend at least 5-10 minutes kneading the clay.
- Check Texture: The clay should be smooth and free of cracks.
Shaping the Beads
Once conditioned, you can start shaping your beads. There are various techniques to create different bead shapes and sizes.
- Rolling into Balls: For round beads, roll small pieces of clay into tight balls.
- Rolling into Cylinders: For cylindrical beads, shape the clay into long, even cylinders.
- Using Molds: If you prefer uniform shapes, use bead molds available at craft stores.
Baking the Clay
After shaping, the beads need to be hardened through baking. Follow these steps carefully:
- Preheat the Oven: Set your oven to the temperature recommended by the clay manufacturer, typically around 275°F (130°C).
- Arrange Beads: Place the shaped beads on a parchment-lined baking sheet, ensuring they don’t touch each other.
- Bake Time: Bake for the suggested time, usually about 15-30 minutes, depending on bead size.
- Cooling: Allow the beads to cool completely before handling.
Designing the Bracelet
Designing your bracelet involves deciding on the bead arrangement and color scheme. Here’s how to get started.
Choosing a Pattern
Select a pattern that reflects your style. You can opt for:
- Simple Alternating Beads: Mix two or more colors in a repeating sequence.
- Gradient Effects: Transition from one color to another for a smooth gradient.
- Patterned Designs: Incorporate different shapes or patterns for a unique look.
Selecting Colors
Color selection plays a crucial role in the bracelet’s overall appearance. Consider the following:
- Color Harmony: Choose colors that complement each other.
- Theme-Based: Select colors based on a theme, such as beach-inspired tones or vibrant, festive hues.
- Personal Preference: Let your personal tastes guide the color choices.
Assembling the Bracelet
With your beads ready, it’s time to assemble the bracelet. This step involves stringing the beads and attaching the clasps.
Stringing the Beads
Here’s how to string your beads effectively:
- Choose a Cord: Select a durable cord or string. Elastic cords are popular for ease of use.
- Measure: Measure the cord to fit your wrist comfortably, adding a few extra inches for tying.
- Arrange Beads: Lay out your beads in the desired pattern.
- String Carefully: Thread the beads onto the cord, ensuring the pattern is consistent.
Adding Clasps and Findings
To secure the bracelet, attaching clasps and findings is essential.
- Jump Rings: Use jump rings to connect the clasp to the beads.
- Clasp Attachment: Attach one end of the brace to the clasp and the other end to a secure knot or another part of the clasp mechanism.
- Secure Fastening: Ensure all connections are tight to prevent beads from slipping off.
 Finishing Touches
Adding final touches can enhance the bracelet’s appearance and durability.
Sealing the Beads
For a polished look, consider sealing your beads:
- Glossy Finish: Apply a thin layer of glaze or varnish to add shine.
- Protection: Sealing also helps protect the beads from moisture and wear.
- Drying Time: Allow the glaze to dry completely before wearing the bracelet.
Final Adjustments
Make any necessary adjustments to ensure the bracelet fits perfectly and looks flawless.
- Trim Excess Cord: Cut any excess cord and secure the ends with knots or crimp beads.
- Smooth Edges: Use fine-grit sandpaper to smooth any rough edges on the beads.
- Inspect: Check the entire bracelet for any imperfections or weak points.
Tips and Tricks
Enhance your crafting skills with these valuable tips and tricks.
Avoiding Common Mistakes
Steer clear of these common pitfalls:
- Overconditioning Clay: Avoid making the clay too soft, which can cause it to become sticky and difficult to shape.
- Inconsistent Sizes: Ensure all beads are uniform in size for a professional look.
- Underbaking or Overbaking: Follow baking instructions carefully to prevent misshapen or brittle beads.
Enhancing Your Designs
Elevate your bracelet designs with creative enhancements:
- Texturing: Use tools to add texture or patterns to the clay before baking.
- Incorporating Other Materials: Mix clay beads with metal charms or natural stones for added interest.
- Layering Colors: Create multi-colored or marbled effects by layering different clay colors before shaping.
Caring for Your Clay Bead Bracelet
Proper care will ensure your bracelet remains beautiful for a long time.
- Avoid Excessive Moisture: Keep the bracelet away from water to prevent the beads from becoming sticky.
- Storage: Store in a cool, dry place, preferably in a jewelry box or pouch.
- Cleaning: Gently wipe with a dry cloth to remove any dust or dirt.
 Troubleshooting Common Issues
Even experienced crafters encounter challenges. Here’s how to tackle some common issues.
Beads Cracking After Baking
If your beads crack after baking, consider these solutions:
- Check Baking Time and Temperature: Ensure you are baking at the correct temperature and for the appropriate duration.
- Avoid Rapid Temperature Changes: Allow beads to cool gradually within the oven to prevent thermal shock.
Beads Not Holding Shape
To ensure your beads maintain their shape:
- Proper Conditioning: Thoroughly condition the clay to eliminate air bubbles.
- Consistent Thickness: Keep the bead thickness uniform to ensure even baking.
Inspiring Bracelet Ideas
Get inspired with these creative bracelet ideas to make your clay bead bracelets stand out.
Nature-Inspired Designs
Incorporate elements from nature, such as leaves, flowers, or pebbles, into your bead designs for a fresh and organic look.
Geometric Patterns
Use geometric shapes and patterns to create modern and stylish bracelets that appeal to contemporary tastes.
Personalized Bracelets
Add initials, names, or meaningful symbols to make your bracelets unique and personal.
Expanding Your Crafting Skills
Once you’ve mastered how to make clay bead bracelets, consider expanding your skills to other jewelry-making techniques.
Making Clay Pendants
Create matching pendants to complement your bracelets, adding coherence to your jewelry collection.
Building Necklaces
Use larger or differently shaped clay beads to craft stunning necklaces that showcase your creativity.
Designing Earrings
Craft clay bead earrings by attaching small, delicate beads to earring hooks, completing your handmade jewelry ensemble.
Connecting with the Crafting Community
Engaging with fellow crafters can provide inspiration and support as you explore how to make clay bead bracelets.
Joining Online Forums
Participate in online forums and social media groups dedicated to jewelry making to share ideas and seek advice.
Attending Workshops
Enroll in local workshops or classes to learn new techniques and meet other enthusiasts.
Showcasing Your Work
Share your creations on platforms like Instagram, Etsy, or Pinterest to gain feedback and attract potential customers if you choose to sell your bracelets.
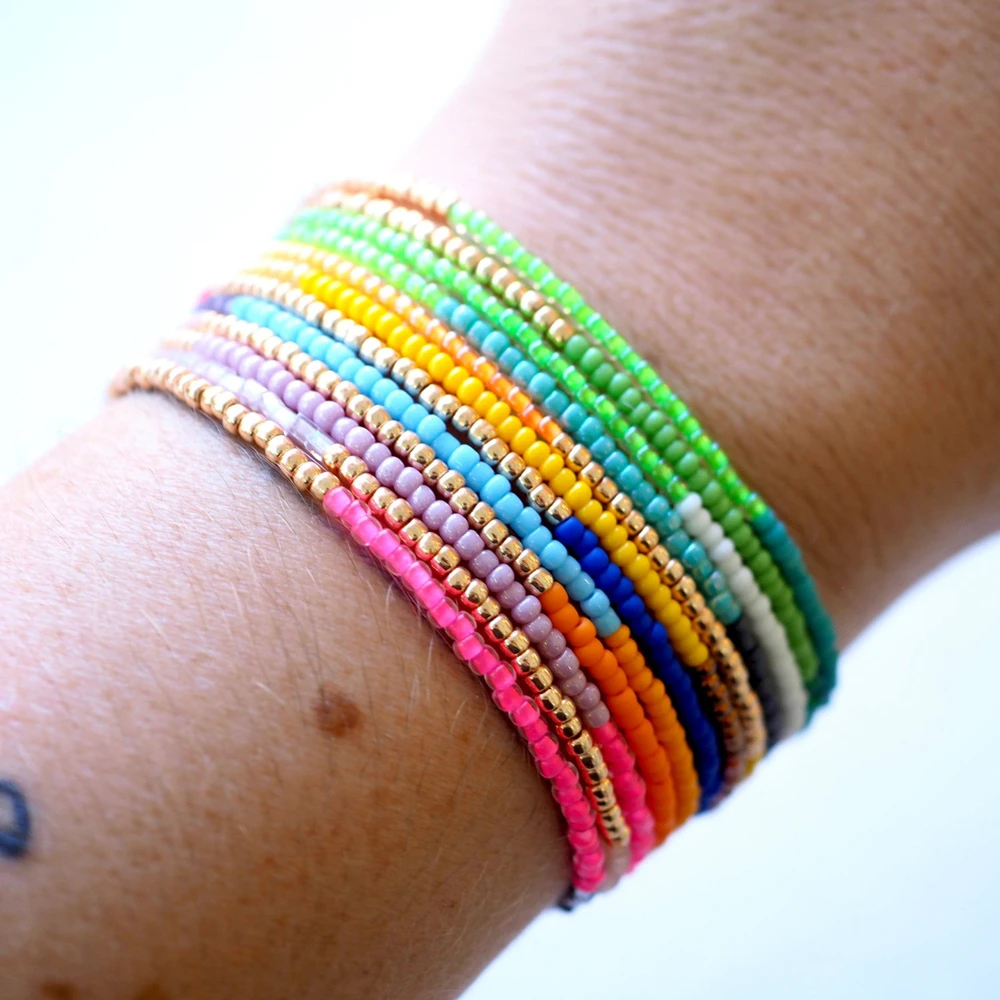 Sustainable and Eco-Friendly Practices
Embrace sustainability in your crafting by incorporating eco-friendly practices.
Using Recycled Materials
Utilize recycled cords or upcycled findings to create environmentally friendly bracelets.
Choosing Non-Toxic Clays
Opt for non-toxic, eco-friendly polymer clays to ensure your jewelry is safe and sustainable.
Reducing Waste
Minimize waste by carefully measuring materials and repurposing any leftover clay through recycling or gifting.
Exploring Advanced Techniques
Once comfortable with the basics, try advanced techniques to further refine your skills.
Marbling and Blending Colors
Experiment with marbling or blending multiple clay colors to create intricate and vibrant patterns.
Embedding Objects
Embed small, flat objects like glitter, small beads, or dried flowers into the clay for added texture and interest.
Creating Intricate Designs
Try more complex shapes and detailed designs using carving tools and stamps to make your beads truly unique.
Showcasing Your Creativity
Your imagination is the limit when learning how to make clay bead bracelets. Encourage yourself to experiment and develop your unique style.
- Mix and Match: Combine different shapes, sizes, and colors for eclectic designs.
- Seasonal Themes: Create bracelets that reflect different seasons or holidays.
- Custom Orders: Offer personalized bracelets to friends, family, or customers who appreciate handmade jewelry.
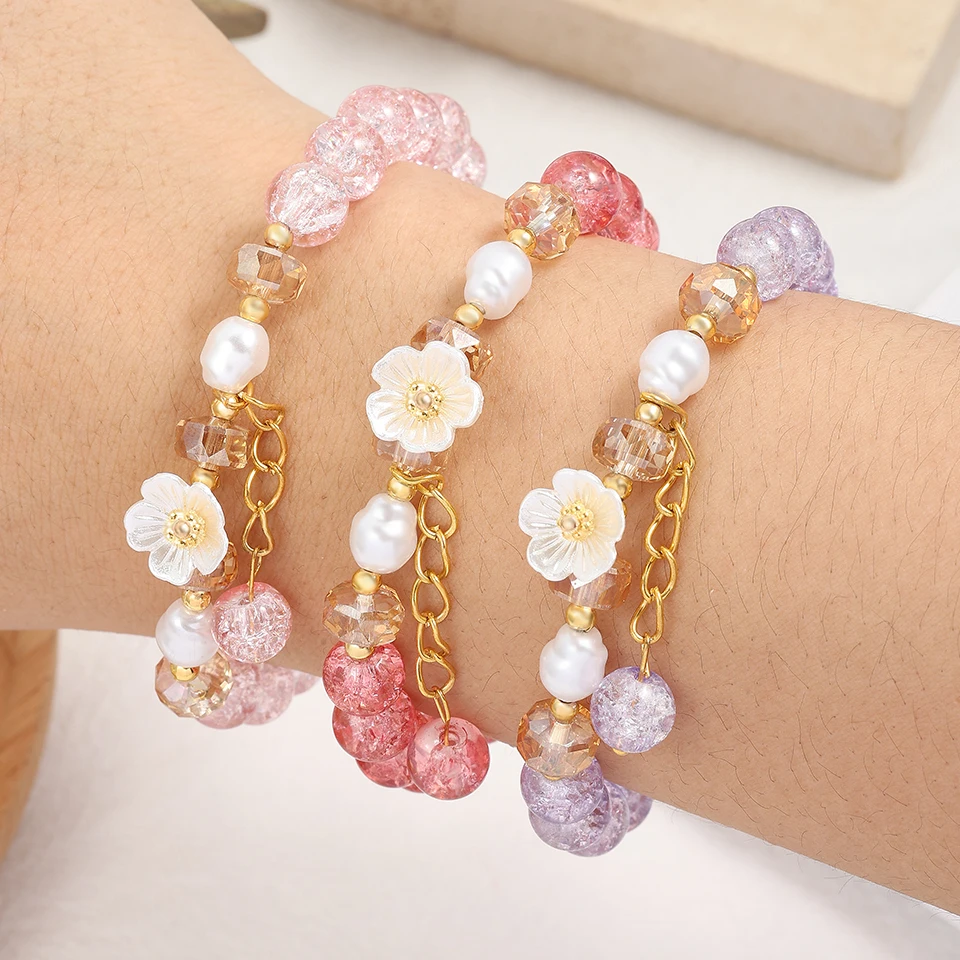 Conclusion
Learning how to make clay bead bracelets opens up a world of creative possibilities. By following this comprehensive guide, you can craft beautiful, personalized bracelets that reflect your style and creativity. Remember to gather the right materials, prepare your workspace, and follow each step carefully. With practice and passion, you’ll master the art of making clay bead bracelets and enjoy the satisfaction of wearing or gifting your handmade creations.
