Experiencing the moment a favorite necklace snaps or finding that beads have scattered can be disheartening, but it is important to remember that many common breaks are repairable. With the correct tools, some dexterity, and a dose of patience, you can mend the broken pieces, often restoring your necklace to its original condition. How to fix broken necklace? This comprehensive guide is here to walk you through the process of fixing various types of necklace damage in 2024.
Assess the Damage: First Steps to Necklace Repair
Identify the Breakage Point
When your necklace breaks, first take a moment to avoid further entangling or losing any parts. Gently lay out the necklace on a flat and softly padded surface to assess where the break has occurred. Look for missing links, a malfunctioning clasp, or spilled beads. Do this in good lighting, perhaps even with a magnifying glass to catch all the fine details.
Gathering Necessary Tools and Supplies
How to fix broken necklace string? Once you understand the nature of the break, gather the tools needed for the repair. Options include needle-nose pliers, wire cutters, jewelry adhesive, and even a toothpick for delicate glue applications. Check your jewelry box for any spare parts like clasps or jump rings, or take note of what you need to purchase. Many craft stores offer jewelry repair kits designed specifically for these home fixes.
Fixing a Snapped Chain: Precision Is Key
Using Pliers for a Quick Fix
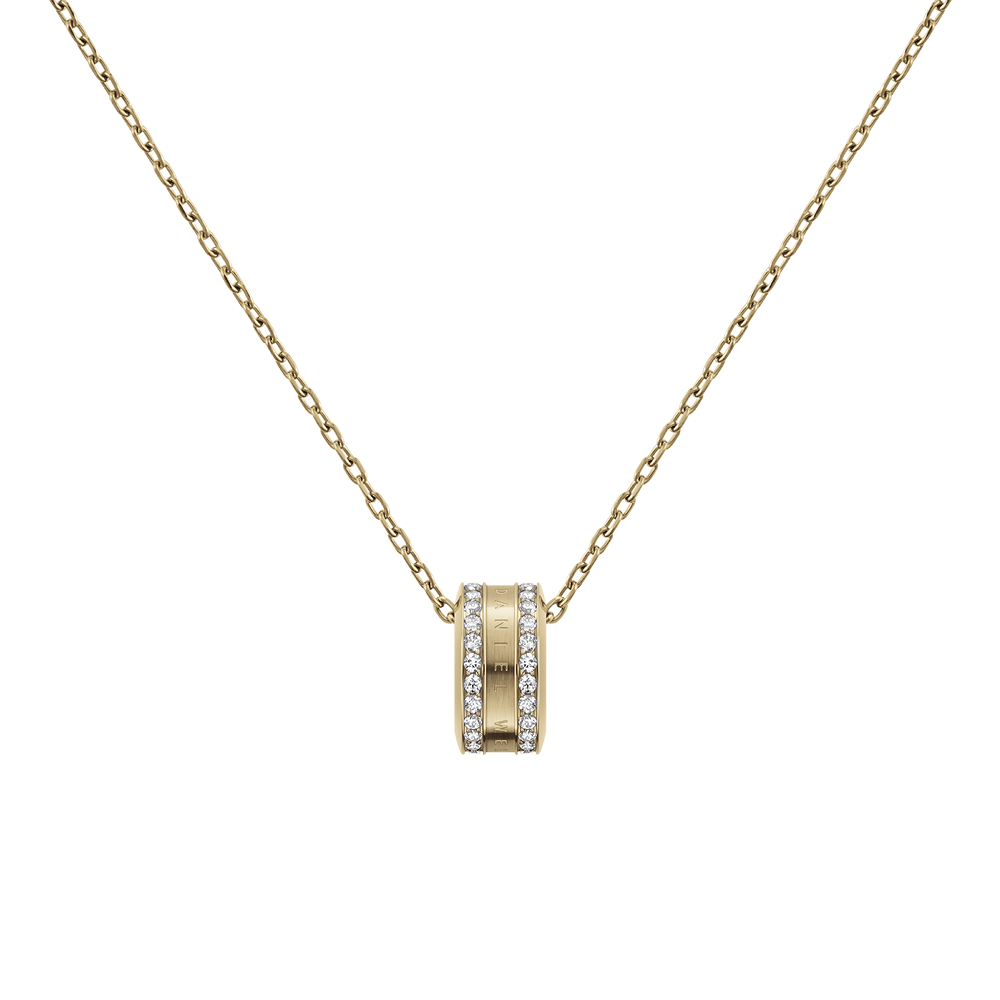
How do you fix a broken necklace? Most metal chain breaks are reparable, especially if the chain is a standard link style. Needle-nose pliers are typically the best choice for this precise work. First, locate the broken link, then use the pliers to gently open one side of it—just enough to slip the other side of the broken link in. Once reconnected, use the pliers to close the link securely, ensuring there are no gaps for it to slip out again.
Soldering for a Stronger Bond
If the damage is near a clasp or the break is on a more delicate or intricate chain, you might require a more robust repair. Soldering creates a stronger bond but requires specialized tools and expertise. Most local jewelers offer this service at a reasonable price. However, if you’re working with costume jewelry, ensure that any soldering won’t damage the finish or any stones.
Reattaching a Clasp: Secure Your Necklace Again
Identifying the Type of Clasp
Before you can fix a broken clasp, you need to know what type you’re dealing with. Lobster claws and spring rings are common and relatively easy to fix by using pliers to open and close jump rings. Toggle and magnetic clasps might require a bit more effort and additional parts.
DIY Clasp Repair Steps
Detach any parts of the old clasp that are broken, along with any twisted or broken jump rings. You can use two pliers—one to hold the jump ring and the other to twist it open. Once you remove the old parts, secure a new clasp with a new jump ring, threading it through the clasp and the end of the necklace. Close the jump ring tightly to complete the repair.
Handling Broken Beads: Patience Pays Off
Matching Missing Beads
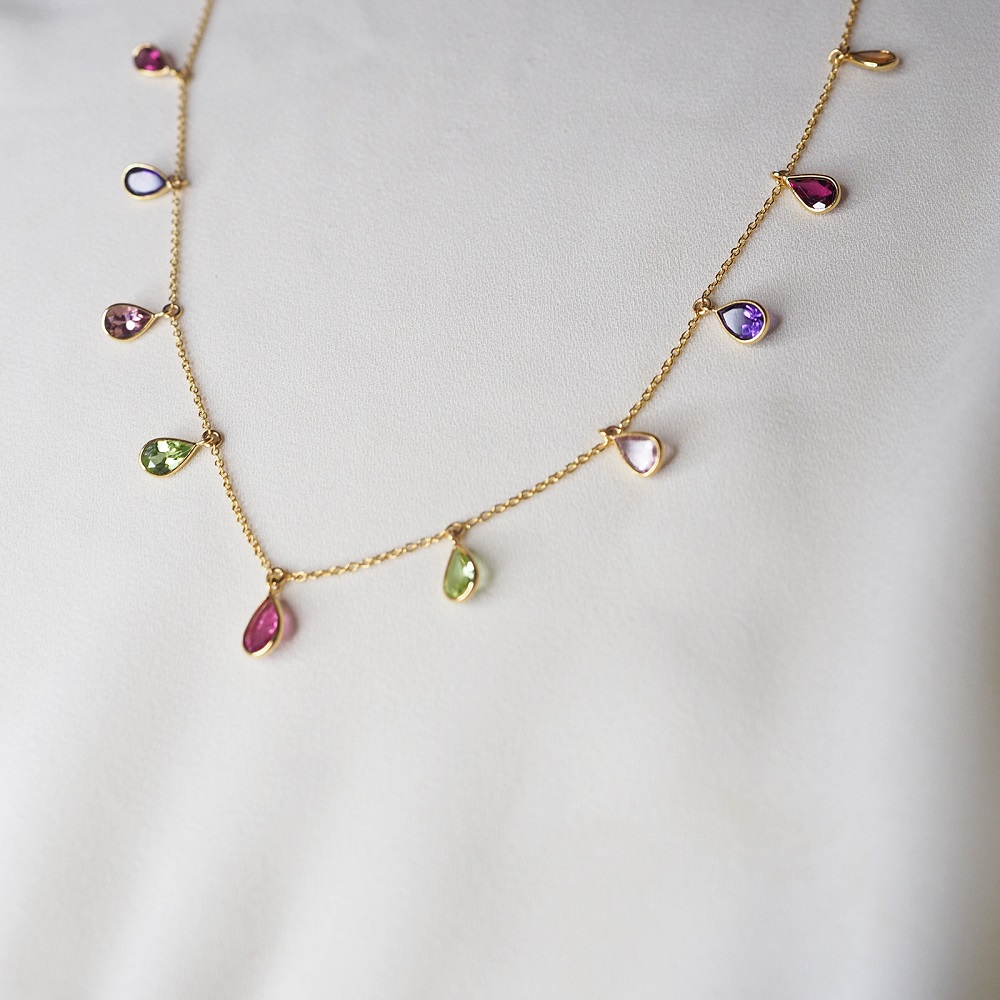
When handling a beaded necklace, the first step is gathering any beads that have fallen off. If some beads are missing, you’ll have to find suitable replacements. This could be a fun opportunity to personalize your necklace with a new pattern, or you can search for identical beads to maintain the original design.
Re-threading Techniques
Strong, flexible beading wire or nylon thread is ideal for restringing. If the necklace has a particular pattern, take a photo before starting, so you remember the order. Carefully thread the beads back on, securing the ends with crimp beads or a well-tied surgeon’s knot to ensure the necklace won’t come apart again.
Using Adhesive for Quick Fixes: Know Your Glue
Choosing the Right Adhesive
Choosing proper jewelry adhesive is crucial. Look for glue that dries clear, is non-corrosive, and designed specifically for jewelry repairs. Also, make sure the adhesive is compatible with the materials in your necklace—some glues react poorly with certain metals or gemstones.
Applying Adhesive Properly
Clean both surfaces that you will glue. Then, apply a tiny drop of glue—less is usually more when it comes to jewelry. Use a toothpick or a similar tool for control. Rather than using clamps which could damage delicate pieces, brace the glued parts against something stable while they dry.
When to Call in the Professionals
Recognizing the Job for a Jeweler
If you find that the repair is beyond a simple fix, or if the necklace has significant sentimental or monetary value, consider professional help. A skilled jeweler can address issues that would challenge most DIY enthusiasts, like micro-soldering, intricate pattern rethreading, or stone resetting.
Finding a Reputable Repair Service
When searching for a jeweler, look for someone certified or with excellent customer reviews. Ask around for referrals, or consider returning to the store where you purchased the necklace originally. Transparency is essential—your jeweler should provide a clear estimate and explain the repair process.
Preventative Care: Keeping Necklaces Intact
Regular Maintenance and Check-Ups
Adopt a routine for jewelry care, regardless of their value. Clean your necklaces gently but regularly, inspect them for damage, and make minor repairs before they turn into bigger problems. Keep an eye on any wear around clasps or beads that seem to move too freely.
Proper Storage and Handling
Prevent future accidents by storing your necklaces appropriately. Hang them on a necklace tree or lay them flat in a jewelry box with dividers to keep them separated. When traveling, consider a jewelry roll or individual pouches for protection. Finally, keep your necklaces away from chemicals, including perfumes and lotions, which can corrode materials over time.
Tackling Intricate Issues With Care
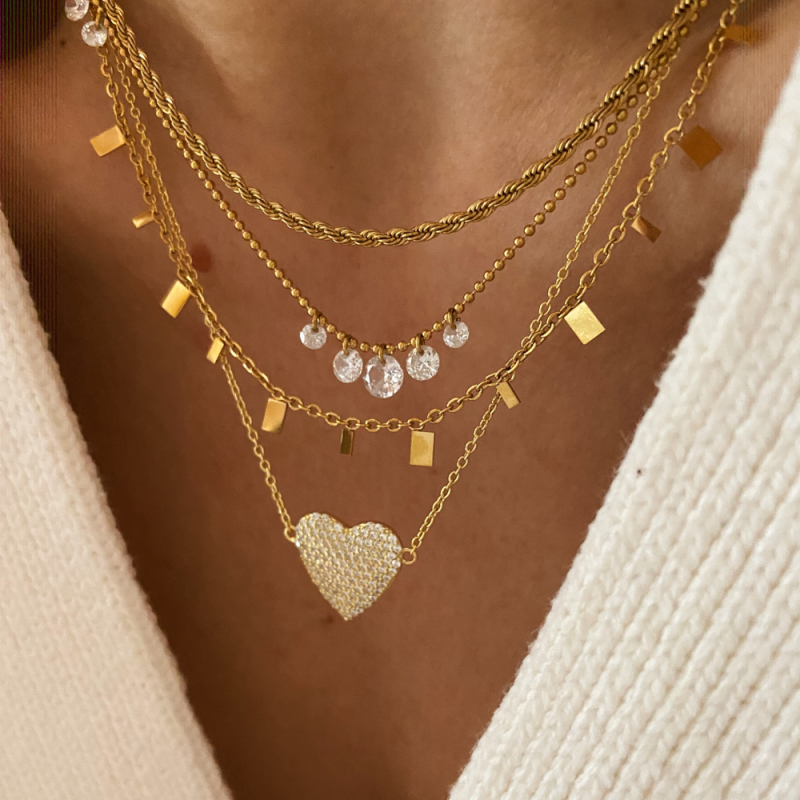
Some necklaces feature complex designs with multiple chains, a variety of beads, or intricate metal work that makes them particularly challenging to repair. It’s crucial to take your time to understand the structure and how the pieces fit together. Documentation, like taking pictures before you start, can help immensely so that you can restore it to its original form after the repair. If the complexity is too intimidating, jot down notes and take it to a professional.
Techniques for Multi-Strand Necklaces
Multi-strand necklaces can become a knotted mess when broken. Untangle them slowly to prevent further damage. For rethreading multiple strands, maintain organization by labeling the ends of each strand and attaching them to a stable surface. A bead board can be an invaluable tool for keeping strands ordered during this process.
Crafting a Repair Toolbox
Building a Jewelry Repair Kit
Having a dedicated repair kit specifically for jewelry will streamline the fix process whenever an issue arises. Alongside the standard pliers and cutters, include materials like clasps, jump rings of various sizes, and types of chain links. Tailor your kit to match the types of necklaces you typically wear or fix.
Stocking Up on Supplementary Materials
It’s also helpful to include a strong magnifying glass or jeweler’s loupe, a variety of adhesives for different materials, and even a small bead mat to prevent beads from rolling away. With these items on hand, you’ll feel well-equipped to handle future breaks and damages that occur with normal wear and tear.
The Satisfaction of DIY Repairs
Embracing Do-It-Yourself Solutions
There’s a significant satisfaction that comes with fixing a beloved necklace yourself. Not only do you save money, but you also gain a deeper appreciation for the craftsmanship that goes into jewelry. What’s more, the skills you pick up from jewelry repair can translate to other areas, including making your own jewelry or helping friends with their broken pieces.
The Learning Curve
Expect a learning curve if you’re new to jewelry repair. Practice on less valuable pieces before you tackle a cherished necklace. As you improve, you’ll find that many repairs become easier, and you’ll build a repertoire of solutions for various issues that arise.
The Importance of Jewelry Maintenance
Preventative Measures to Avoid Future Breaks
One of the best ways to fix a broken necklace is to prevent it from breaking in the first place. Routine checks for weak spots, especially around clasps and joins, can save you from unexpected breaks. Learn to recognize signs of wear, like thinning strings or chain links, and address them before they give way.
Regular Cleaning for Longevity
Proper maintenance includes regular cleaning with the correct solutions for the material. Dirt and grime can contribute to wear, and some substances can even weaken the necklace structure over time. Investing time in taking care of your jewelry consistent with the manufacturer’s guidelines pays off by extending the life expectancy of your favorite necklaces.
A Restored Treasure
Restoring a broken necklace can be a fulfilling project, as it allows you to maintain your favorite pieces for continued enjoyment. Whether working with fine jewelry or costume pieces, the right approach, and some care will often lead to success. Remember, your attempts at home repair should not worsen the problem—if in doubt, take it to a professional. Through this guide, you can approach jewelry repairs with confidence, turning a stressful break into a simple fix, ultimately leaving you with a fully restored piece that’s ready to dazzle once more.
