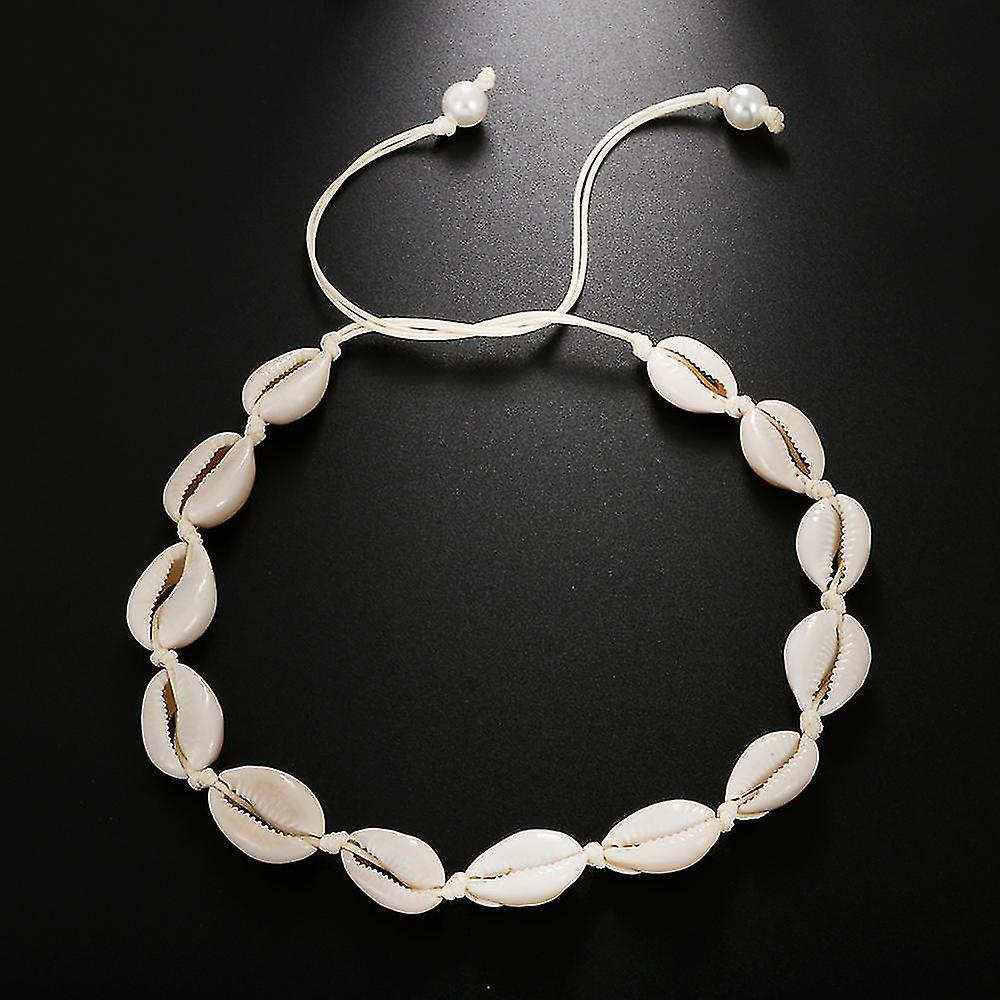
Creating a shell necklace is a wonderful way to transform a keepsake from the sea into a fashionable accessory. This DIY project not only gives you a custom piece of jewelry but also lets you wear your beach memories around your neck. How to make a shell necklace? Here’s a detailed guide to crafting your very own shell necklace that’s sure to turn heads in 2024.
Step 1: Gathering Supplies
Carefully Select Your Shells
How to make shell necklace? The first part of making a shell necklace is picking out the perfect shells. Look for shells that are free from cracks and chips. If they come straight from the beach, they might have tiny holes already, perfect for threading. If not, you’ll have to drill holes, so thicker shells may be necessary.
Assembling the Rest of Your Tools
In addition to your chosen shells, pull together the necessary supplies for your necklace. This list includes a drill suitable for small craft projects, fine drill bits, a necklace chain, cord or fishing line, small pliers, jump rings, a clasp, and optional decorative beads. Make sure to have a workspace with good lighting and a small container for holding the tiny bits and pieces.
Step 2: Preparing Your Shells and Tools
Cleaning Your Shells
It’s essential to start with clean shells. A soak in a gentle soap and water solution will remove any dirt or sand still clinging to them. For a deeper clean, a mild bleach solution can help to sanitize and brighten the shells. Always handle your shells gently to avoid any damage.
Perfecting Your Tools
Before you begin drilling, ensure your drill bit is the correct size for the holes you want to make. Test the drill on a shell you don’t plan to use to get a feel for how much pressure to apply. This preparation can help prevent any craft-crippling cracks in your chosen shells.
Step 3: Laying Out the Design
Creating a Balanced Arrangement
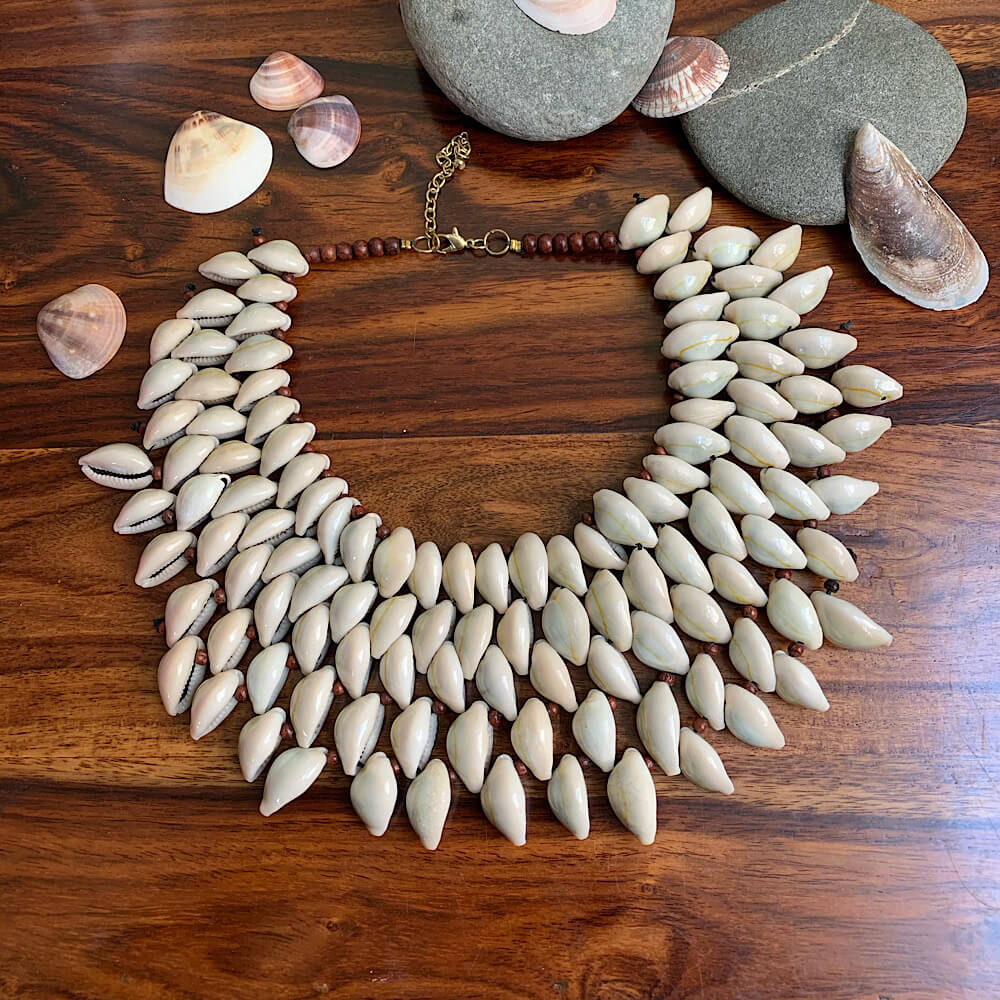
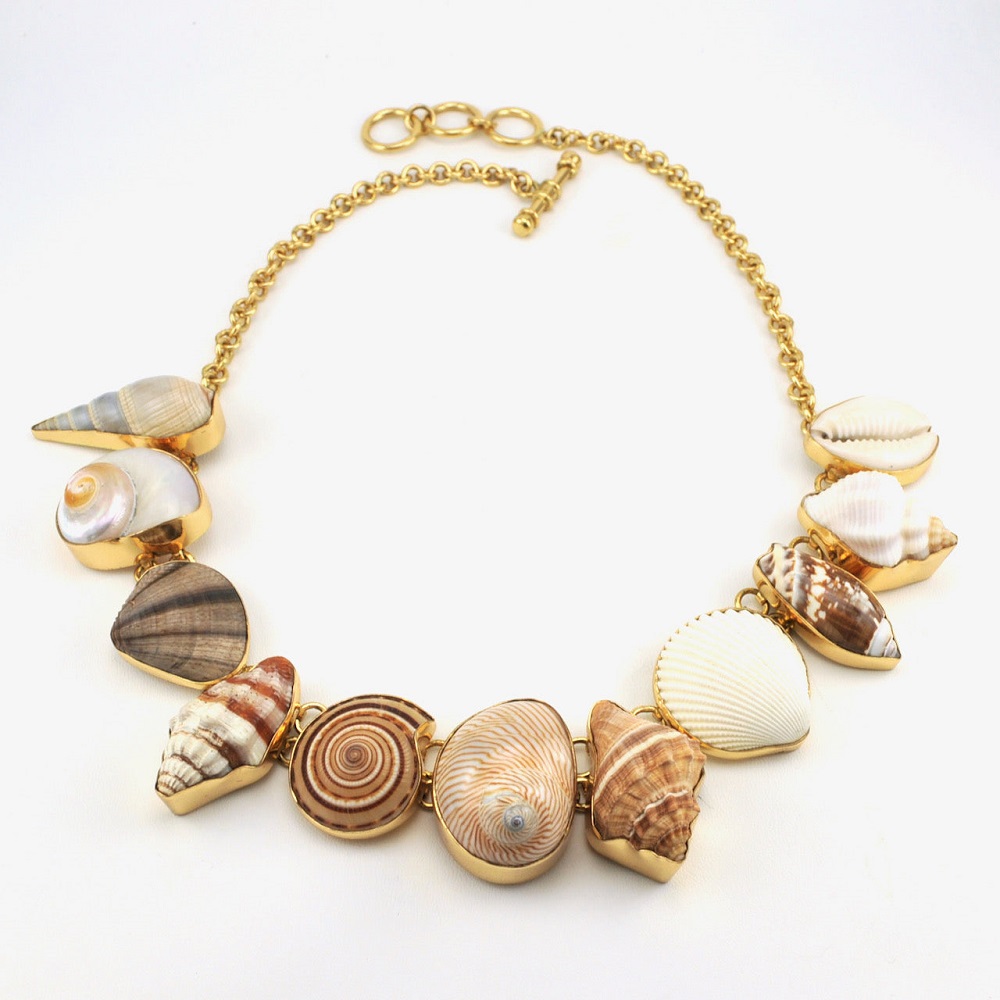
Spread out your shells on your workspace and move them around to find an appealing arrangement. Keep in mind the weight and size of the shells to create a balanced look that will hang well. Mixing sizes and colors can add interest and depth to your design.
Pondering Placement Alternatives
Think about whether you want your necklace to be symmetrical or asymmetrical, which can impact the vibe of your necklace. Symmetry can offer a more classic and elegant look while asymmetry might look more modern and organic. This is where you can truly put your personal spin on the necklace.
Step 4: Assembling the Necklace
Threading with Precision
If you’re using a fishing line or cord, consider double-threading for added durability. As you thread each shell, note the orientation to ensure they all face the right way. Double-check that their natural curves nest comfortably next to each other for a smooth drape.
Joining Beads and Shells
Integrating beads between shells can create spacing that highlights each shell. Choose beads that complement or contrast with your shells for added visual effect. Remember to double knot the cord after each bead or shell to keep them in place and prevent loss should the necklace break.
Step 5: The Finishing Touches
Securing the Clasp
Once all pieces are on the string, attach your clasp. For cords, you can tie on the clasp and secure it with a strong knot and a drop of jewelry glue. For chains, use a jump ring to attach the clasp, closing it tightly with your pliers.
Checking and Rechecking
Give your completed necklace a once-over and a gentle pull test to ensure everything is secure. It’s far better to catch any loose ends now than to have your necklace fall apart during its debut. Iron out any kinks and make sure it lies flat against your neck before moving on.
Step 6: Personalizing Your Creation
Unleashing Your Creativity
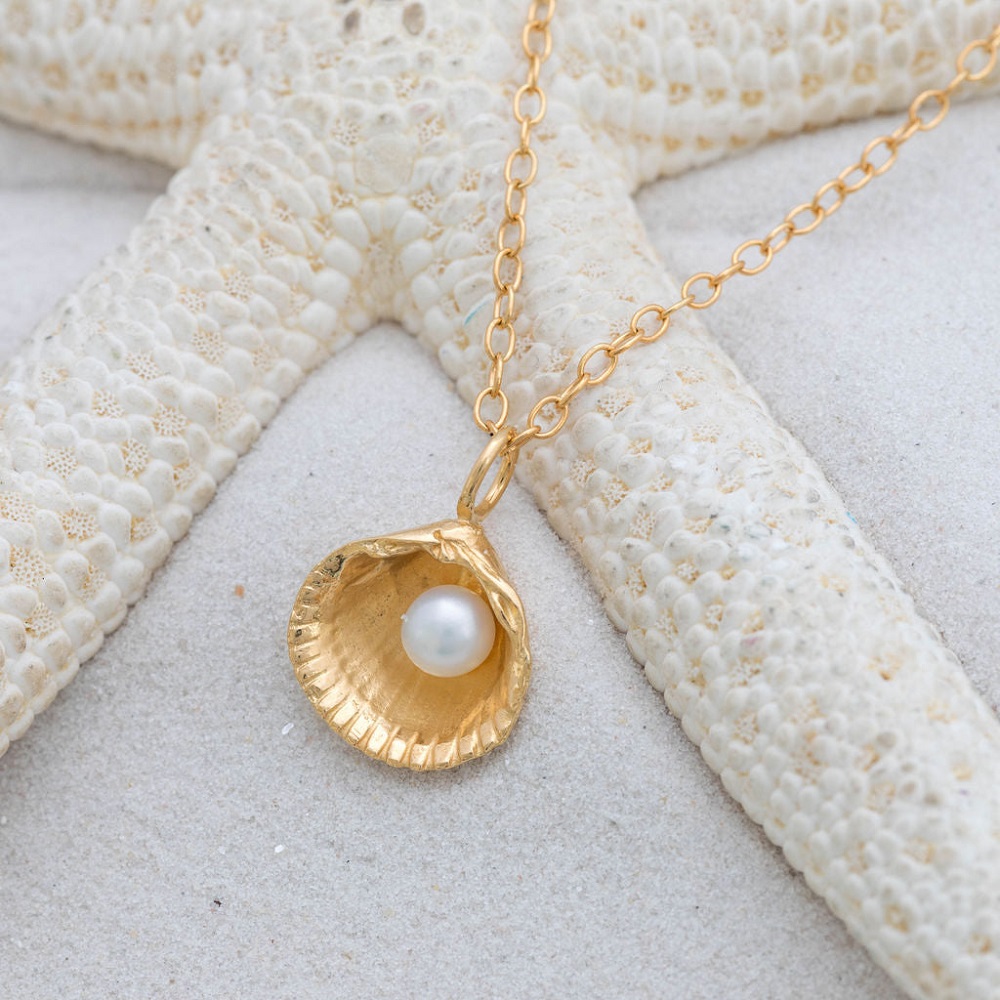
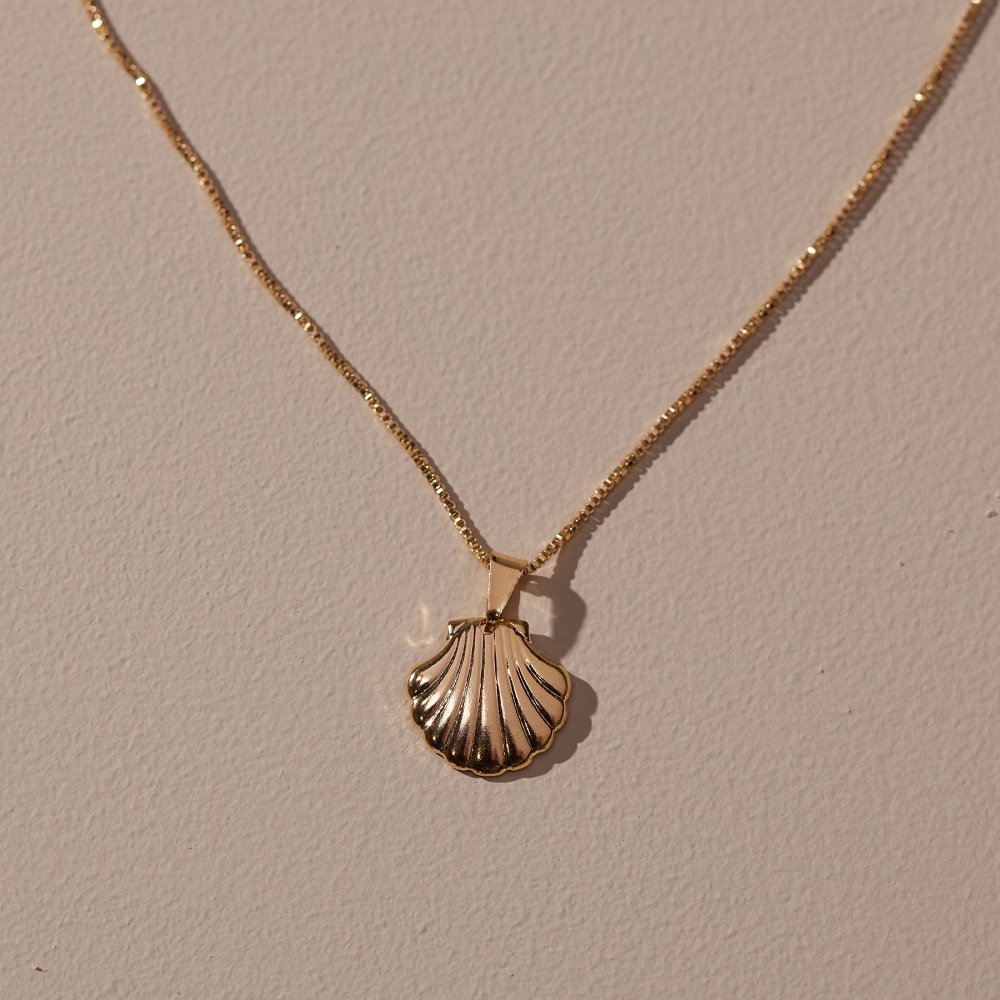
Now that your necklace is together, think of ways to make it even more unique. Could a larger focal shell serve as a pendant? Would a tassel or charm add a boho touch? This is where your personality shines through, and you can make a statement about your design aesthetics.
Embracing the Potential for Customization
Consider creating your necklace with adjustable knots or several clasps to vary the length depending on your outfit or mood. The beauty of a DIY project is its adaptability. Use this opportunity to dream up ways your necklace can evolve with your style.
Step 7: Care and Preservation
Caring for Your Shell Necklace
Shell necklaces require gentle care. When not in use, store them in a soft pouch or laid flat in a jewelry box. Avoid exposing the necklace to harsh chemicals, strenuous activities, or conditions that might lead to tarnishing or physical damage.
Embracing Routine Cleaning
Periodically wipe down your necklace, especially after wearing it on a hot day or to the beach, as sweat and salt can be corrosive. Lightly brushing with a soft toothbrush can help maintain the luster of your shells. A little maintenance goes a long way in preserving your necklace’s beauty for years to come.
Step 8: Experimenting with Texture and Color
Playing with Textural Contrast
When arranging the design for your necklace, consider the texture of the shells. Some might be smooth and shiny, while others have ridges or a matte finish. Placing different textures next to each other can create an engaging sensory experience and highlight the unique qualities of each shell.
Adding a Splash of Color
If you’re working with neutral shells, think about incorporating colorful beads to add vibrancy. However, if you’re using shells with vibrant hues, like those from a paua or abalone, you might choose to let their natural iridescence take center stage, accented only by muted spacers.
Step 9: Adapting the Necklace for Versatile Wear
Designing for Different Occasions
While you’re assembling your necklace, visualize how it might work with various outfits and for different occasions. You can make it adaptable by incorporating adjustable features or by designing it to be reversible, with different textures or patterns on each side.
Customizable Length Options
An adaptable necklace might also include adjustable length options. This is especially useful if you plan to layer your necklace with others. Adding extra jump rings at the end of a chain or creating sliding knots on a cord will allow you and future wearers to change the necklace’s drop as desired.
Step 10: Enhancing Durability
Reinforcing Weak Spots
Over time, the most wear typically occurs near the clasp and where the shells are attached. You can preemptively strengthen these potential weak points by using higher gauge jump rings, double-knotting between beads, or adding a small dab of clear jeweler’s glue to knots for added security.
Selecting Stronger Materials
When selecting materials like cords and clasps, opt for quality, durable products. While they might be a bit more expensive upfront, they’ll extend the lifespan of your necklace, ensuring it can handle daily wear and remain beautiful.
Step 11: Sharing Your Creations
Gifting Handmade Necklaces
Your handmade shell necklace could make for a thoughtful gift that carries a sense of personal touch and sentimentality. Consider making one for a friend or family member, perhaps using shells collected from a shared beach trip or in their favorite colors.
Selling Your Designs
If necklace-making becomes a passion, you might explore selling your creations at local craft fairs or online marketplaces. Each piece’s unique character can capture the hearts of those looking for one-of-a-kind accessories.
Step 12: Reflecting on the Making Process
Valuing the Experience
Beyond the tangible result, the process of making a shell necklace is a calming and reflective journey. Allow yourself to be present during each step, enjoying the tactility of the shells and the meditative repetition of stringing beads. It’s in these moments that your creativity truly flows.
Learning for Future Projects
As you complete your necklace, take a moment to consider what you’ve learned and how you can apply it to future crafts. Each project teaches us something new about materials, techniques, and our own artistic preferences.
Treasure from the Sea to You
From start to finish, the process of creating a shell necklace is as rewarding as it is enjoyable. It allows you to weave together elements of nature with personal artistry for a truly striking result. Wear your necklace as a statement piece or as a subtle nod to the sea. Each time you clasp it around your neck, you’ll remember the joy and care that went into its creation. Let this be the beginning of many more beach-inspired jewelry adventures to come.
