How to make earrings at home? Earrings are a fun and versatile way to add personality to any outfit. But store-bought earrings can be expensive. The good news? You can create beautiful and unique earrings yourself, right at home! This guide will walk you through the exciting world of DIY earrings, teaching you essential techniques and inspiring you with creative ideas.
Gather Your Supplies
Before you dive into crafting, collect the necessary supplies. Here’s a basic list to get you started:
-
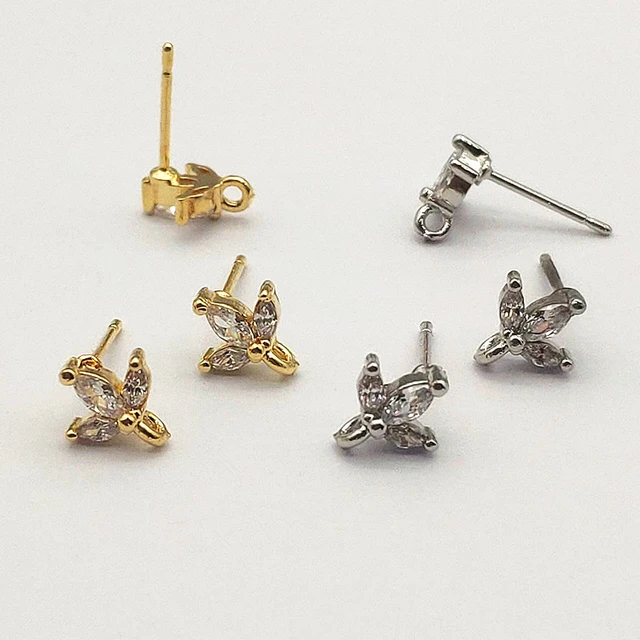
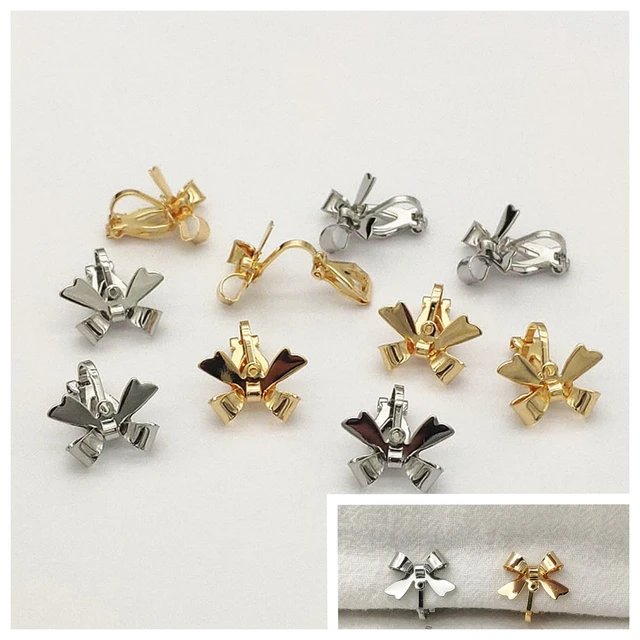
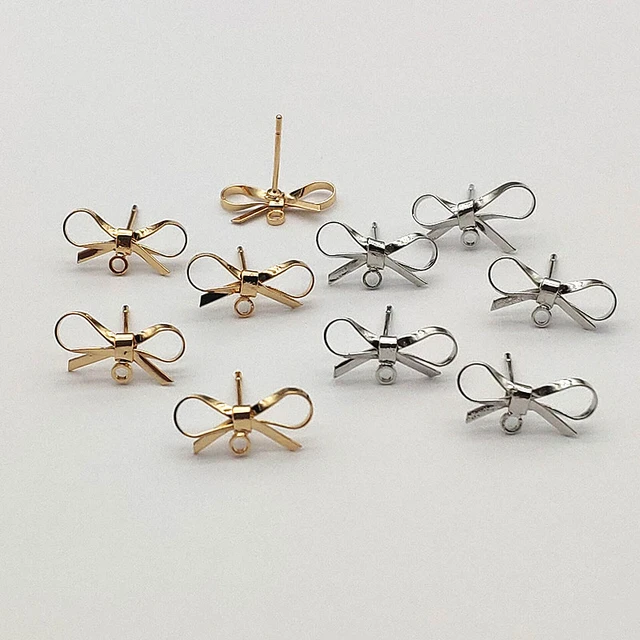
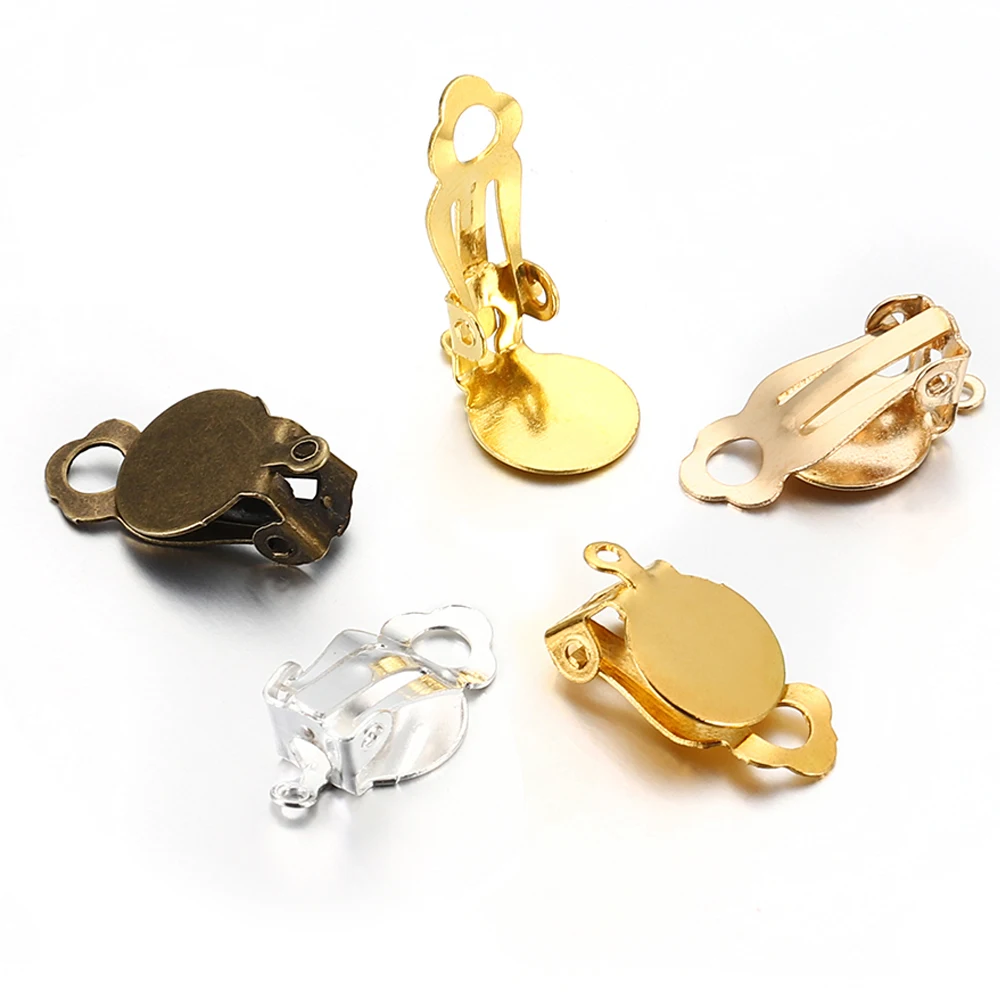
Earring hooks: Choose the type of earring hooks you prefer, such as fish hooks, lever backs, or clip-on findings (for non-pierced ears).
-
Jewelry pliers: Round-nose pliers and flat-nose pliers are essential for opening jump rings and shaping wire.
-
Jump rings: These small metal rings connect your earring findings to your design.
-
Craft wire: Aluminum or craft wire in various colors is a great base for creating earring shapes.
-
Beads: Colorful beads in different sizes and materials can add dimension and detail to your earrings.
-
Scissors or wire cutters: You’ll need these to cut wire to your desired length.
This is just a starting point! You can expand your collection with colorful thread, ribbons, buttons, felt, or even paper (for lightweight designs).
Essential Techniques: Mastering the Basics
Learning a few basic techniques will open doors to endless earring designs. Here are some key skills to practice:
Opening and closing jump rings:
Use your round-nose pliers to gently open a jump ring. Slide it onto your earring hook or other component, then close the jump ring securely with your flat-nose pliers.
Cutting and shaping wire:
Use wire cutters to snip wire to your desired length. You can bend and shape wire with your round-nose pliers to create loops, curves, or spirals.
Attaching beads:
Thread beads onto your wire or string them onto fishing line (depending on your design). Use jump rings to connect beaded strands to your earring hooks.
These basic techniques can be combined in countless ways to create unique and beautiful earrings.
Let’s Get Crafting: Easy Earring Ideas for Beginners
Feeling ready to create? Here are some easy earring ideas to get you started:
-
Classic hoop earrings: Cut a length of wire, bend it into a circle using your round-nose pliers, and attach jump rings to connect the ends and secure the earring hook.
-
Dangle earrings: Thread beads onto a length of fishing line or wire. Attach a jump ring to the top and connect it to your earring hook. You can create single dangles or add multiple strands for a more elaborate look.
-
Button earrings: This is a great way to upcycle old buttons! Glue buttons onto earring posts or incorporate them into dangly designs using jump rings.
-
Geometric earrings: Cut geometric shapes from felt or paper (use lightweight materials for earrings). Attach them to earring hooks or dangle them from jump rings and beads.
These are just a few ideas to spark your creativity! Don’t be afraid to experiment with different materials, colors, and shapes to find your own style.
Beyond the Basics: Exploring Advanced Techniques
How to make earrings at home? As you gain confidence, you can explore more advanced earring-making techniques:
-
Wire wrapping: Wrap craft wire around beads or other components to create secure and decorative connections.
-
French bead weaving: This technique uses thread and needles to create intricate beaded patterns that can be stunning in earrings.
-
Polymer clay earrings: Mold colorful polymer clay into shapes and bake them to create unique and lightweight earrings.
-
Metal stamping: For a more personalized touch, try stamping initials, designs, or messages onto small metal blanks to create one-of-a-kind earrings.
There are many resources available online and in libraries to help you learn these techniques. With practice, you can create professional-looking earrings that reflect your unique style.
Flaunt Your Style: The Finishing Touches
Once you’ve created your earrings, here are some tips for a polished look:
-
Add ear nuts: These small rubber stoppers secure your earrings comfortably on your ears and prevent them from falling off.
-
Store your earrings properly: Keep your creations organized in a jewelry box or display them on a cute earring holder.
-
Wear your earrings with pride! Show off your creativity and handmade style to the world.
Making earrings at home is a fun and rewarding hobby. It allows you to express your creativity, personalize your style, and create unique accessories at a fraction of the cost. So, gather your supplies, unleash your imagination, and start crafting beautiful earrings that are all your own!
Embellish and Personalize: Taking Your Earrings to the Next Level
Once you’ve mastered the basics, you can elevate your earrings with fun embellishments and personalization techniques:
-
Dangles galore! Add charms, tassels, or feathers to your dangle earrings for extra movement and personality.
-
Colorful combos! Experiment with different bead colors and textures to create unique patterns or color gradients.
-
Painted accents! For a touch of whimsy, use acrylic paint to add designs or details to wooden or clay earring components (let the paint dry completely before wearing).
-
Lettering love! Use stencils or small alphabet beads to spell out words or initials on your earrings.
-
Natural wonders! Dried flowers, small leaves, or seashells can be incorporated into your designs for a touch of nature (make sure any organic materials are completely dry to prevent spoilage).
These are just a few ideas to get you started! Remember, there are endless possibilities when it comes to personalizing your earrings.
Sharing the Fun: Craft with Friends or Make Earrings as Gifts
Making earrings is a fun activity to do alone, but it’s also a great way to be creative with friends or family! Host an earring-making party, where everyone can bring their own supplies and ideas. It’s a perfect opportunity to share tips, inspire each other, and create personalized gifts.
Speaking of gifts, homemade earrings are thoughtful and unique presents for birthdays, holidays, or special occasions. Package your creations in decorative boxes or small pouches for an extra personal touch.
Beyond Earrings: Exploring Other DIY Jewelry
How to make earrings at home? Earrings are just the tip of the iceberg when it comes to DIY jewelry making! Once you’ve mastered some basic techniques, you can expand your creativity to other accessories:
-
Necklaces: Craft beautiful pendants or layered bead necklaces using similar skills as you learned for earrings.
-
Bracelets: Create charm bracelets, woven friendship bracelets, or beaded wrap bracelets with various materials.
-
Rings: Design simple wire rings or experiment with sculpting materials like polymer clay to create unique statement rings.
Making your own jewelry is a fun and rewarding hobby that allows you to express your personal style and create one-of-a-kind pieces. So keep exploring, keep creating, and have fun with the vast world of DIY jewelry making!
Working with Polymer Clay
Polymer clay offers a canvas for your creativity, enabling you to sculpt detailed designs and vibrant pieces. Start by conditioning the clay—knead it until it’s soft and pliable. Roll out the clay to your preferred thickness using a rolling pin, then cut out shapes using small cookie cutters or a craft knife.
Add texture and details with tools like stamps or texture mats. Create small holes with a needle or toothpick for threading earring findings later. Once your designs are ready, bake the clay according to the manufacturer’s instructions. After baking, allow the pieces to cool completely before handling.
Attach jump rings and earring hooks through the pre-made holes using pliers. If desired, you can glaze the finished products with a clay-safe sealant to give them a shiny finish.
Exploring Resin Techniques
Resin jewelry is known for its glossy finish and durability, making it another excellent choice for homemade earrings. To begin, make sure your workspace is covered as resin can be quite messy. Wearing gloves, mix the resin and hardener thoroughly according to the instructions.
Add pigments, glitter, or inclusions like small flowers or images to your resin mixture. Pour the mixture into silicone molds designed for jewelry. Use a toothpick or heat gun to remove any air bubbles from the surface. Allow the resin to cure as per the manufacturer’s guidelines, which could take up to 48 hours.
Once cured, remove the resin pieces from the molds and sand down any rough edges. Drill small holes if necessary and attach earring findings to complete your pieces.
Final Thoughts
In 2024, making earrings at home has become an exciting and accessible hobby for many jewelry enthusiasts. If you’re wondering how to make earrings at home, you’ll be pleased to discover a variety of materials and techniques available. From using polymer clay to create unique shapes and designs, to repurposing old jewelry pieces, the options are limitless. To make earrings at home, gather tools like pliers, earring hooks, and decorative elements such as beads or charms. With a bit of creativity and practice, you’ll soon be crafting beautiful, personalized earrings that reflect your style.
