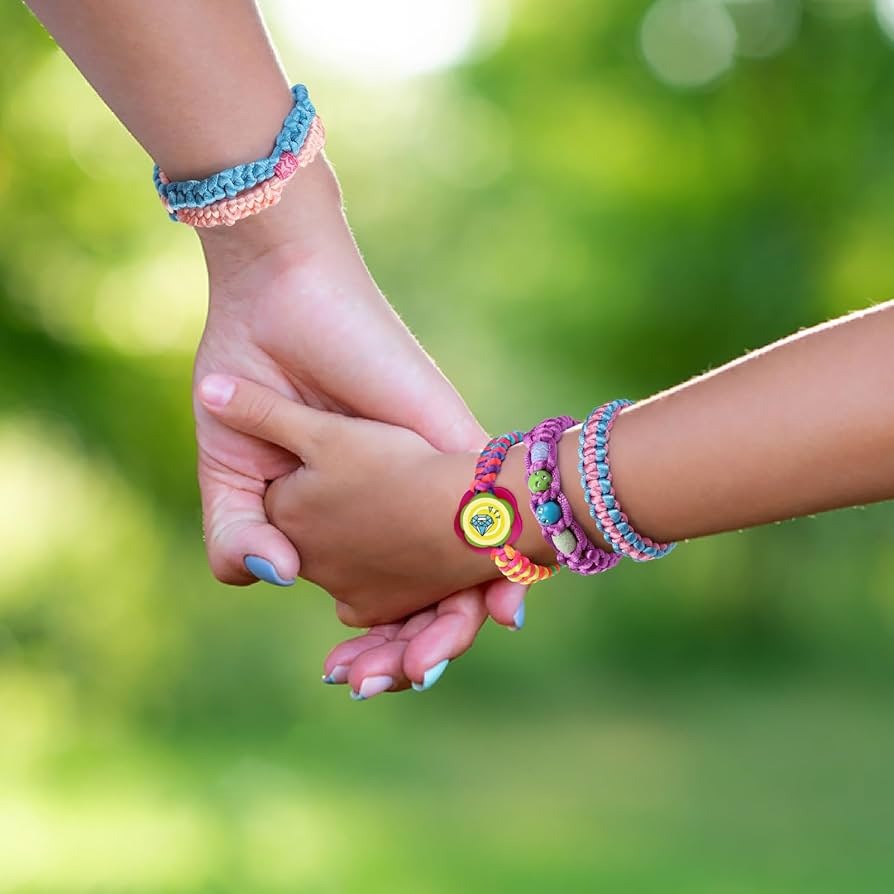
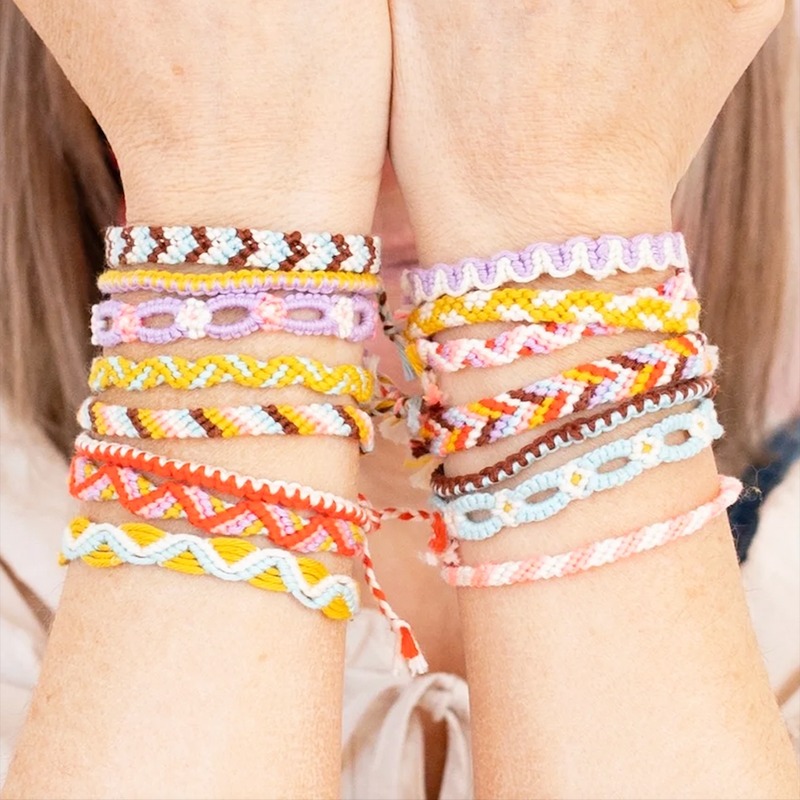
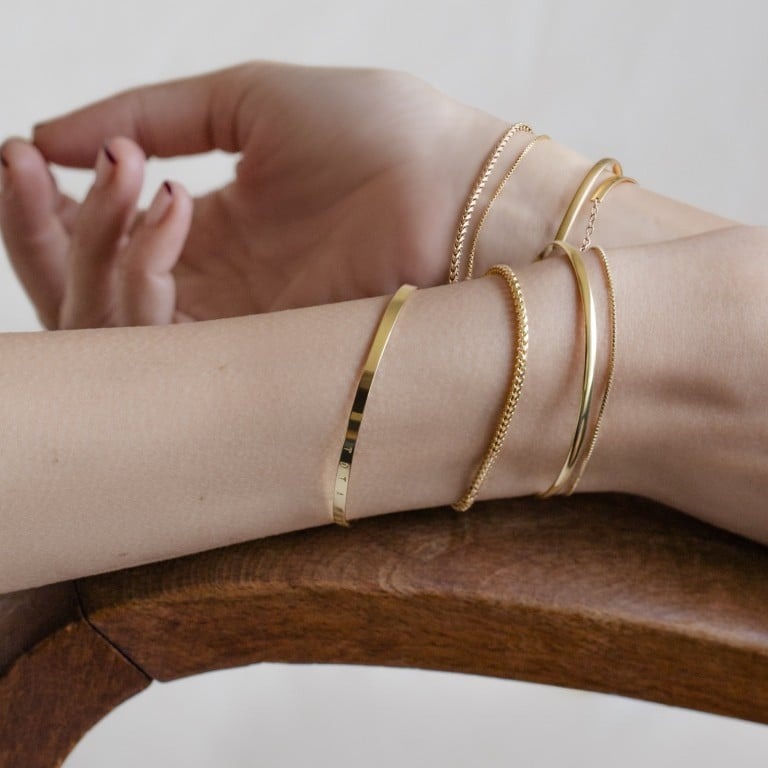
Friendship bracelets have long been a cherished symbol of connection and camaraderie. However, when the time comes to end the friendship represented by these colorful accessories, it can be a delicate process. It’s important to approach this with care and sensitivity. This article will provide a comprehensive guide on how to end friendship bracelets, ensuring you do it respectfully and meaningfully.
Introduction to Friendship Bracelets and Finishing Techniques
Friendship bracelets symbolize connection and creativity. Meticulous knotting and color pattern choices turn simple threads into meaningful gifts. But, creating the bracelet is half the journey; how to end friendship bracelets is equally important. Finishing techniques vary, ensuring your bracelet can be worn time after time without fraying or coming loose.
These techniques range from basic braiding to more advanced methods like adding jewelry hardware. Whether you’re crafting for fun or making a sentimental token, the right ending method can elevate your bracelet’s look and functionality. In the following sections, we will explore various methods to beautifully and functionally finish your friendship bracelets.
Basic Braiding Techniques for Bracelet Ends

Braiding is a simple yet elegant way to finish friendship bracelets. It adds strength and style to the ends. Braids prevent fraying and allow for a more secure closure. You can choose between a basic braid or a braid knot based on the bracelet’s design and your preference.
Step-by-Step Guide to Starting with a Basic Braid
To begin with a basic braid, follow these steps:
- Gather the threads at one end after completing your bracelet.
- Split them into three equal parts, making sure they’re untangled.
- Cross the right section over the middle one. It should now be the central section.
- Cross the left section over this new middle section.
- Repeat this pattern until you reach the desired braid length.
- Secure the end with a small knot to hold the braid.
This technique suits bracelets meant for occasional wear or ones that don’t require a reusable closure. It’s also the quickest way to end a friendship bracelet with a neat and tidy look.
Finishing Your Bracelet with a Braid Knot
To finish your bracelet with a braid knot:
- Make a basic braid at each end of your bracelet.
- Once you have two braids, tie them together to form a knot.
- Make sure the knot is tight enough to prevent slipping but loose enough to untie if needed.
This braid knot creates a secure finish that enables the bracelet to be taken on and off easily. Ideal for bracelets that will be worn repeatedly, the braid knot combines functionality with classic charm. How to end friendship bracelets with a neat and lasting touch depends on both the technique and the execution. Practice these basic braiding methods to ensure your finished pieces are as special as the friendships they represent.
Advanced Loop Method for Durability
Crafting a Secure Knotted Loop Start
For a durable start, the Advanced Loop method is key. It involves creating a loop that’s reinforced by knots. Follow these simple steps to ensure your bracelet begins strong:
- Cut a strand longer than others, about a foot extra.
- Fold off-center to form a lark’s head knot with the extra length.
- Use backward forward knots to create a secure base.
- Continue until you have a loop large enough for your needs.
- Finish with a sturdy knot encasing all strands for a teardrop loop shape.
The knotted loop is solid and dependable, great for bracelets left on for long periods.
Attaching Buttons for a Reusable Bracelet End
Adding a button makes your bracelet reusable and stylish. Here’s how to finish with a button:
- Determine the button size that fits your loop.
- Braid the opposite end, leaving enough space to attach the button.
- Sew the button onto one braided end.
- Slip the button through the loop to secure the bracelet on your wrist.
This method allows for easy removal and reuse, perfect for friendship bracelets you want to last. Choose fun buttons to personalize your bracelet even more.
My Favorite Reusable Method: Using Ribbon Crimps

When it comes to how to end friendship bracelets in a way that combines style with practicality, my go-to method is utilizing ribbon crimps. Ribbon crimps offer a neat and professional finish, transforming your homemade bracelet into a piece of jewelry that’s both durable and easy to take on and off.
How to Secure Ribbon Crimps with Pliers
To secure your bracelet with ribbon crimps, you’ll need a pair of pliers. Start by applying a small knot at each end of your bracelet. Add a dab of glue for extra strength. Place the crimp over the knot and use the pliers to squeeze tightly, ensuring it grips the fabric. Trim any excess threads close to the crimp for a clean finish.
This method is particularly ideal because ribbon crimps come in various sizes and styles, meaning they can accommodate different bracelet thicknesses and aesthetics. Plus, the added bonus of using pliers is that it ensures the crimps are attached securely, so you won’t have to worry about your beautiful creation falling apart.
Adding Jumprings and Clasps for Elegance
The final step in elevating your friendship bracelet with a ribbon crimp finish is adding jumprings and clasps. This is where your bracelet truly becomes a piece of jewelry. Attach a jumpring to each ribbon crimp, then add a clasp to one side. The clasp allows for easy removal and adds an elegant touch to your handcrafted bracelet.
Jumprings and clasps not only enhance the bracelet’s functionality but also contribute to its overall design, making your creation even more special. They offer a refined look that’s perfect for gifts or selling your bracelets. With this method, you end up with a wearable, adjustable, and chic accessory that honors the time and love put into making it.
Alternatives to Traditional Finishing Methods
In quest of unique bracelets, we sometimes move beyond usual techniques. Reinventing how we end friendship bracelets can add variety and appeal. It’s about finding that balance between style and ease of use.
The Drawbacks of Sliding Knots in Friendship Bracelets
Sliding knots often seem like a smart choice for adjustable bracelets. However, they pose issues. The friction of moving knots can wear down the threads over time. This can lead to a bracelet that frays or breaks prematurely. It’s also tricky to get a smooth sliding action, making them less ideal for frequent use.
Innovative Finishing Options Beyond Basic Techniques
To bypass the sliding knot’s downsides, we explore other innovative methods. Here are two clever alternatives:
- Button and Loop Closure: A button attached to one end fits through a loop on the other. It’s charming and easy to use.
- Beaded Toggle: Thread a bead that acts as a toggle through a loop. This gives a fanciful, yet secure finish.
These creative closures make your bracelet stand out. They provide durability without sacrificing the ease of wear. They are a blend of classic craftsmanship and innovation, ideal for those seeking to avoid common methods while still cherishing the bracelet’s integrity.
Making Adjustable Friendship Bracelets with Cable Chains

To make your friendship bracelets adjustable, adding cable chains is a smart choice. This upgrade adds function and a dash of sophistication. Here’s how you turn a simple bracelet into an adjustable one:
Enhancing Bracelet Adjustability and Style
- Choose a cable chain with links that match your bracelet’s thickness.
- Cut a piece of the chain to your desired length, adding a few extra inches for adjustment.
- Attach a jump ring to one end of your bracelet and link it to the chain.
- On the opposite end, secure another jump ring and attach a clasp.
- By adjusting the clasp along the chain, you can change the bracelet’s fit.
This method not only increases the bracelet’s versatility but also infuses it with elegance. The metallic sheen of the chain contrasts beautifully against the threads. By following these steps, you enhance both the style and practicality of your friendship bracelets.
Caring for Your Finished Friendship Bracelets
Maintaining Bracelet Durability and Longevity
After mastering how to end friendship bracelets with style, preserving their beauty is key. Here are simple yet effective tips for maintaining bracelet durability and longevity:
- Keep Dry: Always remove your bracelet before swimming, showering, or any activity involving water. Moisture can weaken threads and cause colors to fade.
- Avoid Chemicals: Keep your bracelet away from harsh chemicals. This includes lotions, perfumes, and cleaning agents that can damage the material.
- Gentle Cleaning: If your bracelet gets dirty, clean it gently. Use a soft brush and a mild soap solution. Rinse carefully and lay flat to dry.
- Proper Storage: Store your bracelet in a cool, dry place when not wearing it. A small bag or a jewelry box works well to protect it from dust and direct sunlight.
- Regular Checks: Periodically check the knots and clasps for any signs of wear. Tighten and repair as needed to prevent accidental loss.
- Wear with Care: Be mindful while wearing your bracelet. Avoid tugging or pulling on it as this can stretch the threads and lead to breakage.
By following these easy steps, you ensure your friendship bracelets remain vibrant and intact. Whether they’re a gift or a personal keepsake, proper care will keep the spirit of friendship shining through every thread.
Conclusion and Final Thoughts on Bracelet Finishing
As we’ve explored various methods for finishing friendship bracelets, the key takeaway is versatility and personalization. From basic braiding to sophisticated ribbon crimps, each technique offers its own benefits and style. Ensuring your bracelet ends are secure, reusable, and stylish depends greatly on the chosen method. Experiment with different finishes to discover what works best for your design and use. Remember, the perfect finish enhances both the bracelet’s durability and its aesthetic appeal, making your handmade creation a cherished piece of jewelry. Keep practicing these techniques to master the art of ending friendship bracelets elegantly and effectively.

