Blessing bracelets hold special meaning, often symbolizing gratitude and positive thoughts. Making these bracelets yourself allows you to personalize each aspect. This guide will help you craft a unique bracelet infused with your personal intentions. From selecting materials to the mastery of various knotting techniques, every step offers a chance to infuse your bracelet with meaning. By the end of this guide, you’ll know how to make a blessing bracelet that not only looks beautiful but also holds a deeper significance.
Selecting the Right Materials
Choosing the right materials is crucial when learning how to make blessing bracelets. Each component contributes to the bracelet’s look, feel, and spiritual significance.
Choosing the Beads
Select beads that resonate with your intentions. For elegance and purity, consider using 12MM White Simulated Crystal Pearls. These beads not only look stunning but also align with the theme of blessings and gratitude.
Finding the Perfect String or Cord
Opt for a durable, stretchable nylon cord. It should be long enough to go around your wrist comfortably. Double-check the strength to ensure that your bracelet will last.
Picking Charms and Pendants
Choose charms or pendants that reflect your personal beliefs or the blessings you wish to attract. These elements add a deeper meaning to your bracelet.
Adding Metallic Accents for Elegance
Incorporate metallic accents like sterling silver spacers. They enhance the bracelet’s aesthetics, lending a touch of sophistication to your handmade piece.
Step-by-Step Blessing Bracelet Creation

Creating your own blessing bracelet can be a fulfilling craft. Follow these steps to make a bracelet that holds your personal energy and intentions.
Measuring and Cutting the Cord
Start by wrapping the nylon cord around your wrist loosely. It should feel comfortable, not tight. Add a few inches for knots. Cut where needed.
Beading and Design Pattern
Thread your chosen beads onto the cord. Arrange them in a way that pleases you and reflects your intentions. The design is up to you.
Integrating Charms and Accents
Add your selected charms or pendants to the bracelet. They bring meaning to your creation. Place sterling silver spacers for elegance.
The Art of Knotting
Tie knots between beads using simple overhand or square knots. This secures the beads and adds to the bracelet’s design.
Securing the Bracelet with a Final Knot
End with a strong knot to hold all elements in place. You might tie a double knot for extra security.
Trimming and Personalizing Your Bracelet
Cut off extra cord, leaving a small end. Add a tag or note to make it truly yours. Now, your personalized blessing bracelet is ready to wear or give away.
Knotting Techniques for Your Bracelet
Learning different knotting techniques can enhance the design and functionality of your handmade blessing bracelets. Master a few basic knots to create a strong, attractive, and unique bracelet that you’ll be proud to wear or give as a heartfelt gift.
Mastering the Overhand Knot
The overhand knot is simple and easy to learn. It involves looping the cord over itself and pulling it through. This knot secures each bead in place and prevents them from sliding.
Crafting with the Square Knot
The square knot is a step up in complexity. Cross the left cord over the right, then under, and pull tight. Repeat on the opposite side to finish the knot. It creates a neat, box-like appearance.
Creating Adjustable Sliding Knots
Adjustable sliding knots are great for bracelets that easily come on and off. Make a loop with one cord end, thread the other through, and tighten. This knot allows the bracelet to adjust to different wrist sizes.
Attaching Charms with Lark’s Head Knots
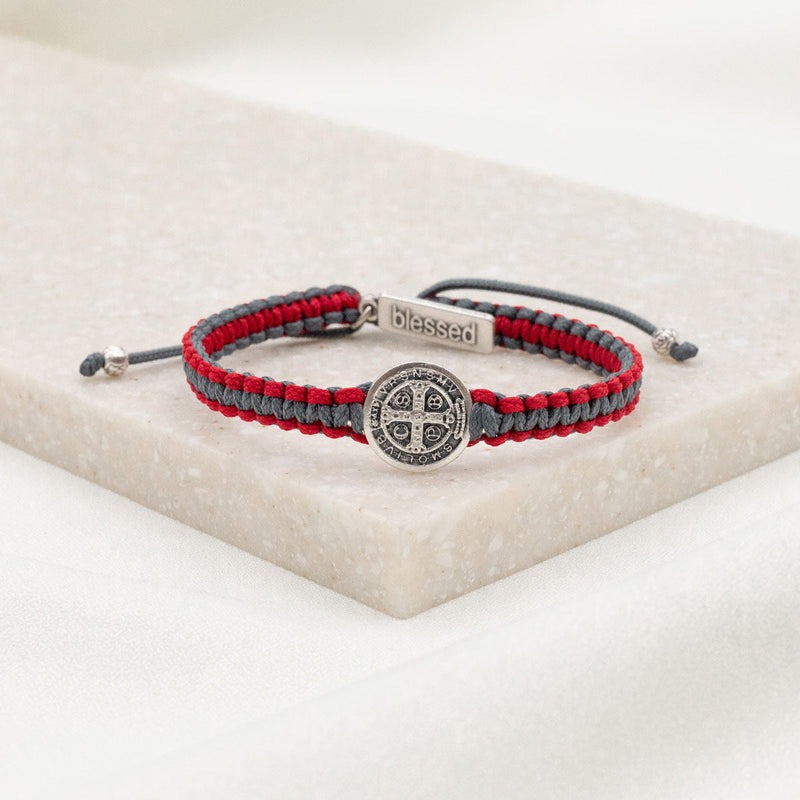
Use Lark’s head knots to attach your chosen charms or pendants. Fold the cord, pull it through the charm, and then draw the ends through the loop. It’s both decorative and functional.
Ensuring Security with Double Knots
A double knot provides extra security for your bracelet. Simply tie two overhand knots on top of each other. This is ideal for the starting and finishing ends of your bracelet.
Adding Visual Interest with Spiral Knots
Spiral knots create a twist effect that adds depth to your bracelet’s design. Alternate the direction of square knots to form the spiral pattern. This knotting style offers a unique look.
By incorporating these knotting techniques, you can make a durable, adjustable, and visually interesting blessing bracelet. Remember to practice them to perfect your skills before starting on your bracelet.
Finishing Touches to Enhance Your Bracelet

Adding the right finishing touches can elevate your blessing bracelet to a whole new level. Here are some ideas:
Incorporating Charm Clusters
Charm clusters make your bracelet visually appealing and personal. Attach small charms or pendants at different points. Make sure they resonate with your intentions.
Infusing Bracelets with Gemstones
Adding gemstones introduces an element of the earth’s energy to your bracelet. Choose stones that match your desired attributes or energies.
Crafting an Adjustable Closure
An adjustable closure is practical and stylish. Use sliding knots to create closures that allow the bracelet to fit any wrist size.
Personalizing with Tags
Personalize your bracelet with small tags. Write intentions, affirmations, or personal notes on them.
Mixing Different Textural Elements
Combine various materials like leather cords or silk threads. This adds uniqueness and texture to your bracelet.
Adding Color with Thread Wrapping
Use colorful threads to wrap parts of your bracelet. This adds a fun, vibrant touch and highlights certain features.
The Best Ready-Made Blessing Bracelet Suggestion
For those who may not have the time or resources to make their own blessing bracelet, purchasing a ready-made option can be just as meaningful. The market offers various beautiful and spiritually significant bracelets that can meet your needs.
Spotlight on the “White Pearl Blessing Bracelet”
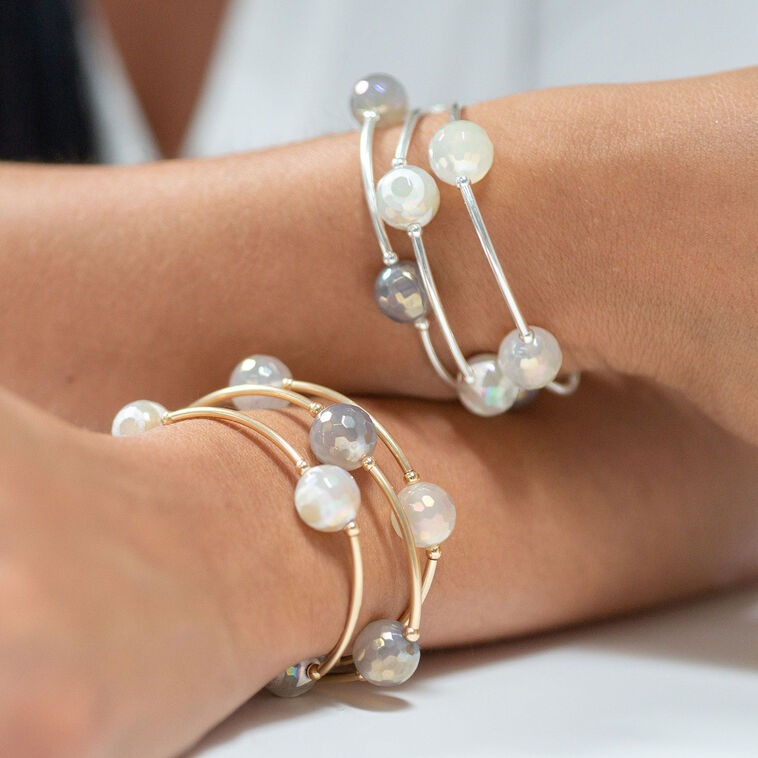
One standout example is the “White Pearl Blessing Bracelet” from the brand ‘Made as Intended’. This bracelet captures the essence of elegance and gratitude beautifully. Crafted from 12MM White Simulated Crystal Pearls, it embodies purity and sophistication. Each bracelet is carefully designed, integrating Sterling Silver elements that accentuate its classic allure. The bracelet comes in both standard sizes and larger versions, accommodating various wrist sizes, making it an exceptional choice for a personal keepsake or a thoughtful gift.
The “White Pearl Blessing Bracelet” is elegantly packaged in a gift box, complete with a ribbon and a blank notecard for a personal message. It also features a Blessing Bracelet tag, enhancing its value as a gift. This bracelet has proven to be a top-selling item, beloved for its meaningful design and luxurious feel.
Choosing this bracelet allows you to wear or gift a piece with a profound message of gratitude and blessing, without the need to craft it personally. Each element of the bracelet is intended to uplift, making it a perfect choice for those seeking a blessing infused with beauty and intentionality.
Conclusion
Wrapping up, crafting your own blessing bracelets can be a deeply personal and rewarding process. Every choice, from beads to cord, adds to your bracelet’s unique story. Putting in the time to select the right materials and incorporating various knotting methods can turn a simple accessory into a meaningful talisman of positivity. For those short on time, the ‘White Pearl Blessing Bracelet’ is a beautiful, ready-made option. It reflects quality and intention, perfect for gifting or personal wear. Remember, whether you create your own or choose a ready-made bracelet, the sentiment behind it is what truly matters. Blessing bracelets serve as a constant reminder of the good in life and the personal intentions carried within. Happy crafting or shopping, and may your bracelet be a source of joy and gratitude.
FAQs on Blessing Bracelets

In creating your own blessing bracelet, it’s natural to have questions. Here are some FAQs to help guide you through the process.
Selecting Beads for Your Bracelet
Choosing the right beads is a key step in making a blessing bracelet. Here are tips for selecting the best beads for your handmade piece:
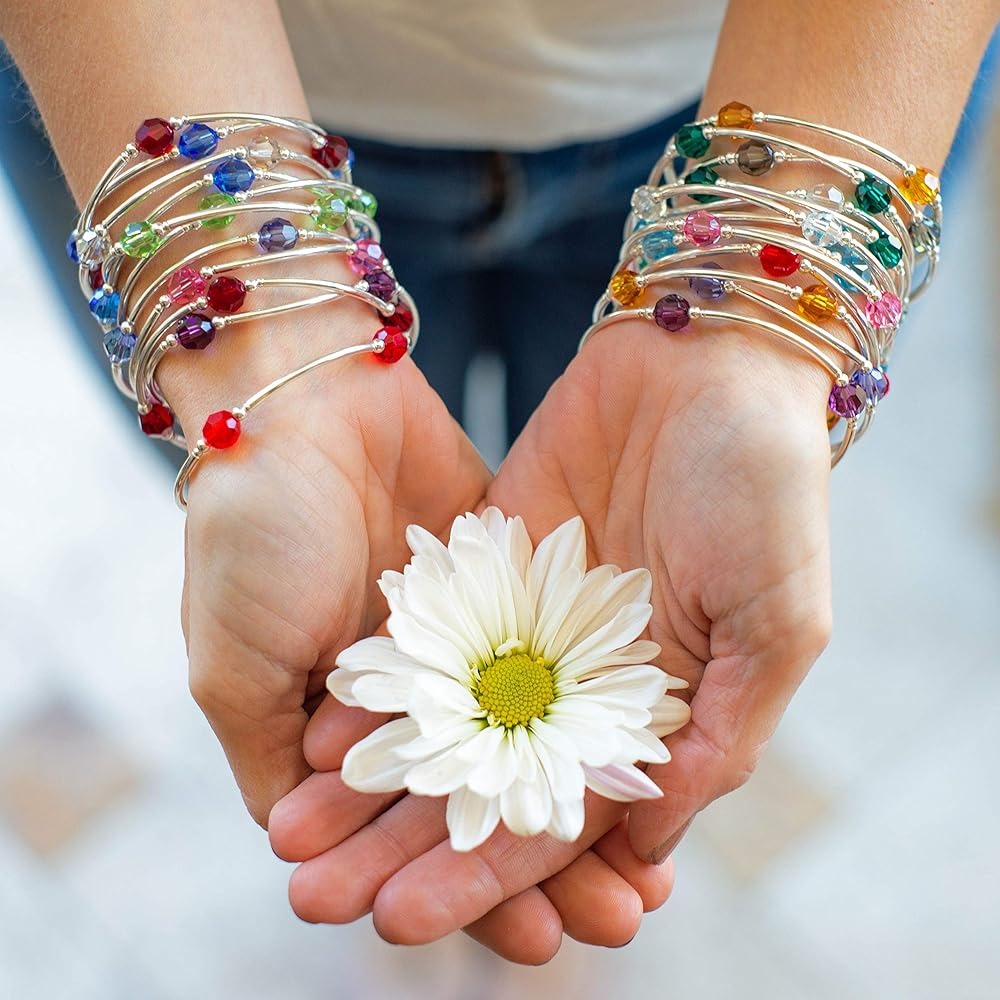
- Meaningful Colors: Pick colors that speak to you or hold significance. If you seek peace, blue might resonate.
- Personal Intentions: Select beads that mirror your desires. If you wish for health, green beads can symbolize vitality.
- Quality and Durability: Go for beads with lasting quality. Crystal pearls, for example, are both elegant and strong.
- Comfort: Ensure beads are a comfortable shape and size for frequent wear.
Remember, the beads you choose add a personal touch to your blessing bracelet.
Sizing Your Blessing Bracelet
Getting the right fit for your bracelet is important. Here’s how to properly size it:
- Measure Your Wrist: Use a flexible tape to measure where you’d like your bracelet to sit.
- Add Length: Add extra length to accommodate the thickness of your beads. This ensures a snug but comfortable fit.
- Check Fit: Your bracelet should slide on easily and feel comfortable on your wrist.


